
December 2nd saw us playing a mission created by Milkduster, in which our platoon was tasked with taking two towns that were defended by at least two platoons of enemy infantry supported by anti-air and armored threats.
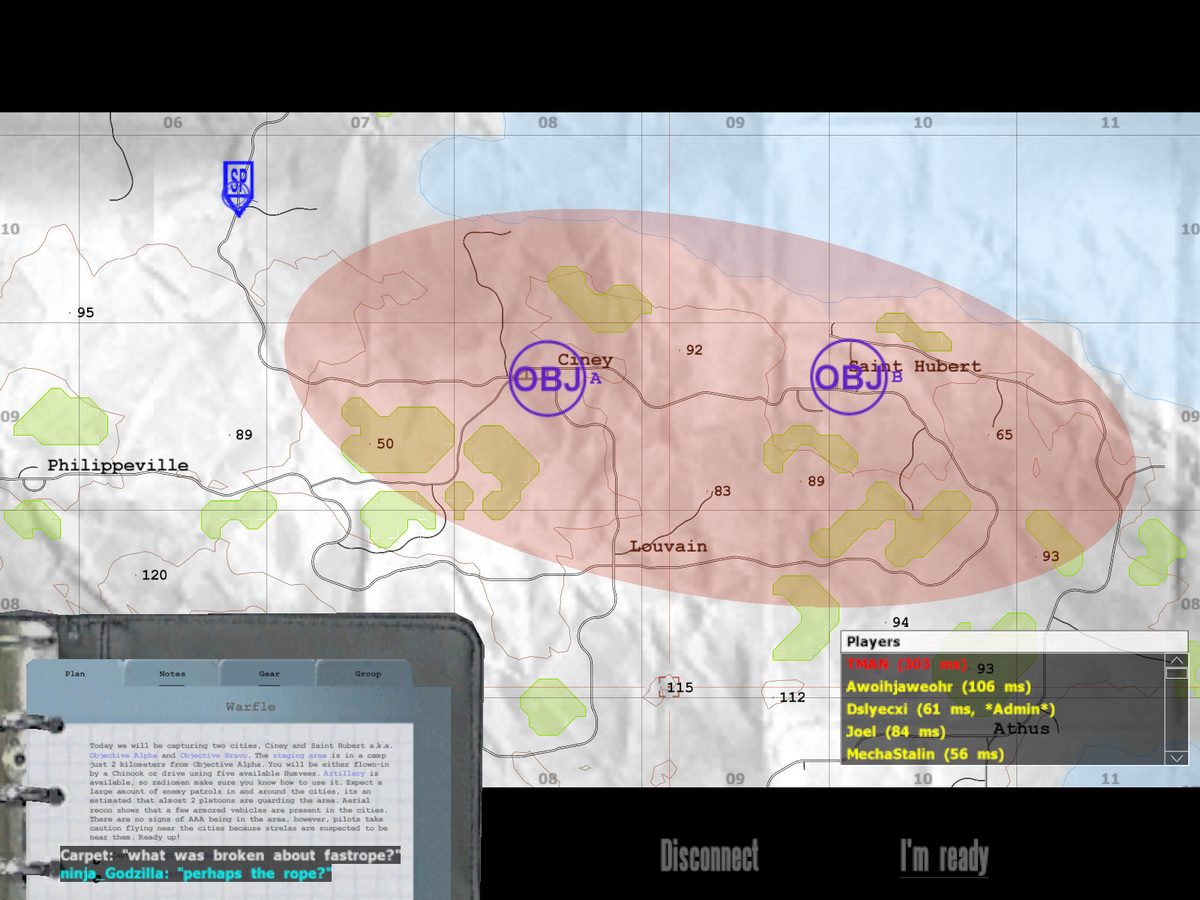
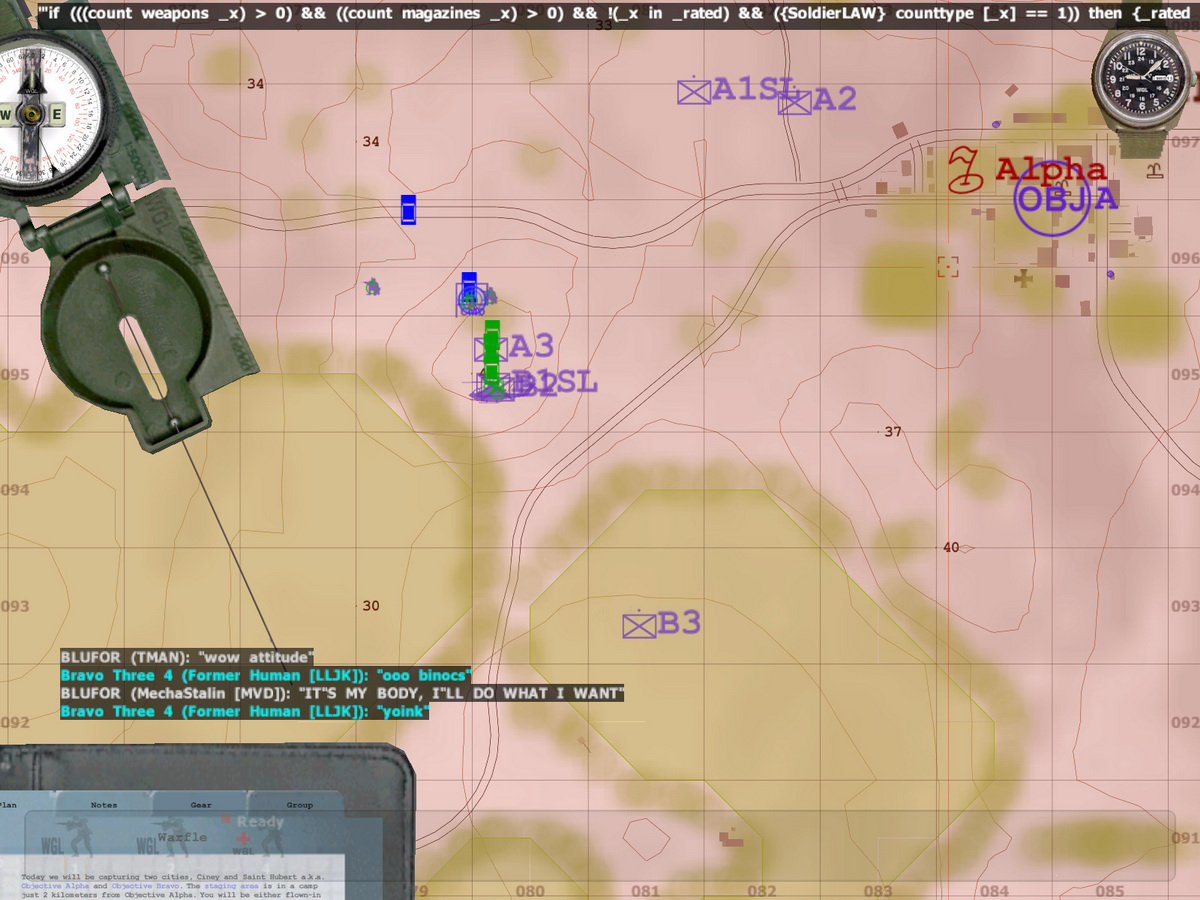
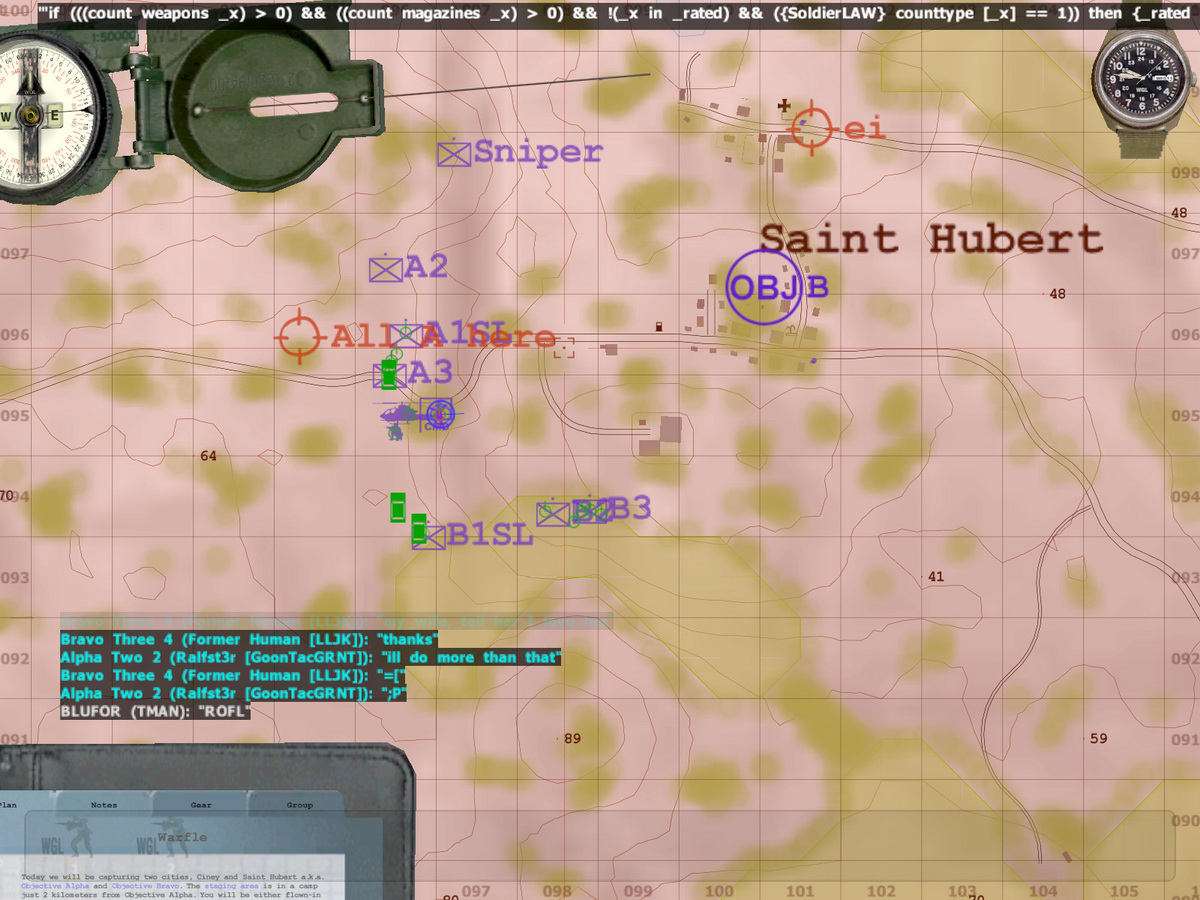
The Objectives
This was our first session with the new ShackTac/GoonTac ranks established. It also marked usage of a new type of Teamspeak radio discipline, in which all command units identified themselves when coming on the air to avoid confusion as to what was being said over command chat versus what was intra-squad talk. Both of these, along with solid leadership at all levels, contributed towards one of the smoothest large-scale missions we’ve had to date.

Many lessons were learned in this mission, and all in all it went quite well. It stands as a fine example of what can be accomplished with a good group of players and a game as robust as Operation Flashpoint.
This AAR will follow the mission from start to finish, which all-told was about an hour and forty minutes. I’ll be marking the time of certain events to help readers get a feel for the intervals involved. The last minutes were partially captured on video, too, so that will cap off the writeup. LandrosRadick will be providing a good amount of further footage in the near future that I’ll add to this once it’s up.
Update, Dec 7: I’ve linked to the large clip by LandrosRadick at the end of this video.
Platoon Composition
Starting off, let’s look at the way the platoon was broken down for this mission. The mission was created to use Group Tracking, and the actual organization was taken straight from our Tactics, Techniques, and Procedures page – each squad consisted of a leader fireteam and two other fireteams. This allowed us to maintain greater control over our units by being able to see where each element was located due to the group-tracking markers, and order them around as cohesive fireteams. There were two squads, which meant we had six infantry fireteams along with the command element and support elements.
Every squad and fireteam was led by a Specialist or, in the case of Bravo 3, an NCO. The overall platoon was led by an NCO, myself. ShackTac/GoonTac Specialists, Regulars, and Grunts fleshed out the remainder of the force.
We had one Chinook and one AH-1 Cobra acting as our aircraft, as well as a Scout/Sniper element that provided us with a great deal of recon.
The specific breakdown is as follows.
Command Element
Command: Dslyecxi (Platoon Commander), zen2k (RTO), Cornbeef (Platoon HQ Guide), Lightzout (Corpsman)
Alpha Squad
Alpha One: Kevb0 (Squad Leader), henk (AR), cell (RTO), Frenchie (Corpsman)
Alpha Two: Sadi (Team Leader), Ralfst3r (AR), Ballystix (Javelin)
Alpha Three: Radick (Team Leader), Ninja_Godzilla (AR), Hunterhr (assistant AR), Sankis (AT)
Bravo Squad
Bravo One: Awoihjaweohr (Squad Leader), TIIMMYY (AR), burningtrees (Forward Observer), Genken (Corpsman)
Bravo Two: Milkduster (Team Leader), JonathanParkerBedrava (AR), J.T (assistant assaultman), Jimbo (Javelin)
Bravo Three: Space Cowboy (Team Leader), FriedFish (AR), Petrus (assistant AR), Former Human (AT)
Support Elements
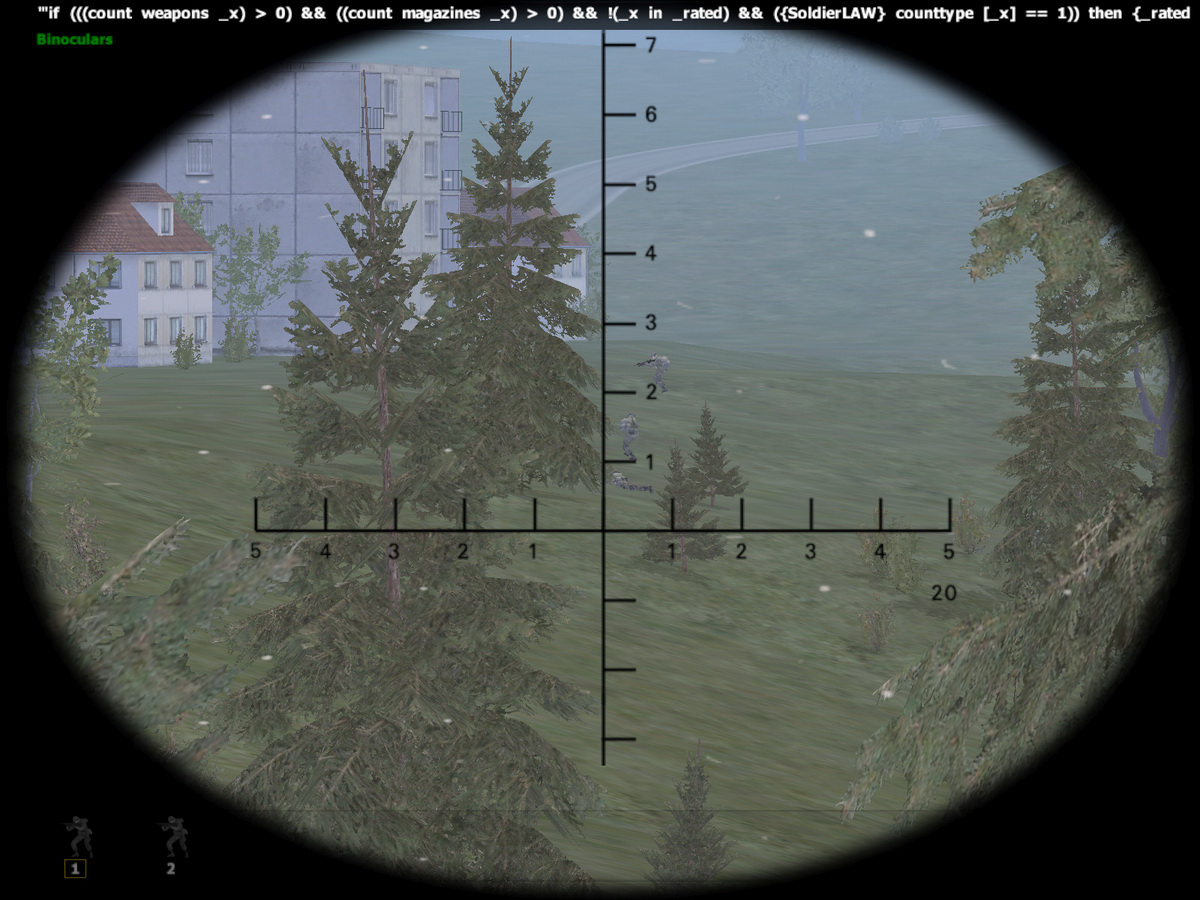
Scout/Snipers: Joel (sniper), TMAN (spotter)
AH-1 Cobra: MechaStalin (pilot), Carpet (gunner)
CH-47 Chinook: Redkid Joker (pilot), Bet (door gunner)
Planning
One of the strengths of Shack Tactical, as I see it, is that we don’t require a huge amount of time to plan out our missions. The skill and initiative of our leaders tends to require only basic initial guidance insofar as objectives are concerned, with the specifics being figured out by the squad leaders on the fly or dictated by the Platoon Commander when necessary. The flexibility exhibited at all levels is one of the things I’m most proud of, and I think this mission was an excellent example of how a group doesn’t need to sit down and excessively over-plan to be successful. Individual skill, solid leadership, tactical know-how, and good communication will get you very, very far.
In-Mission
When we entered the mission, I hadn’t spent a moment of our briefing time doing an actual plan. Instead, I had worked out our communication structure and familiarized myself with who the fireteam and squad leaders were as well as what special gear they carried.
Once in the mission we took the time to get everyone separated into their squads. Our Cobra, piloted by MechaStalin and with Carpet gunning, took off after a minute or two to begin an aerial patrol. The scout/sniper team likewise headed off to do their thing and check out the area north of the route I was planning to use.
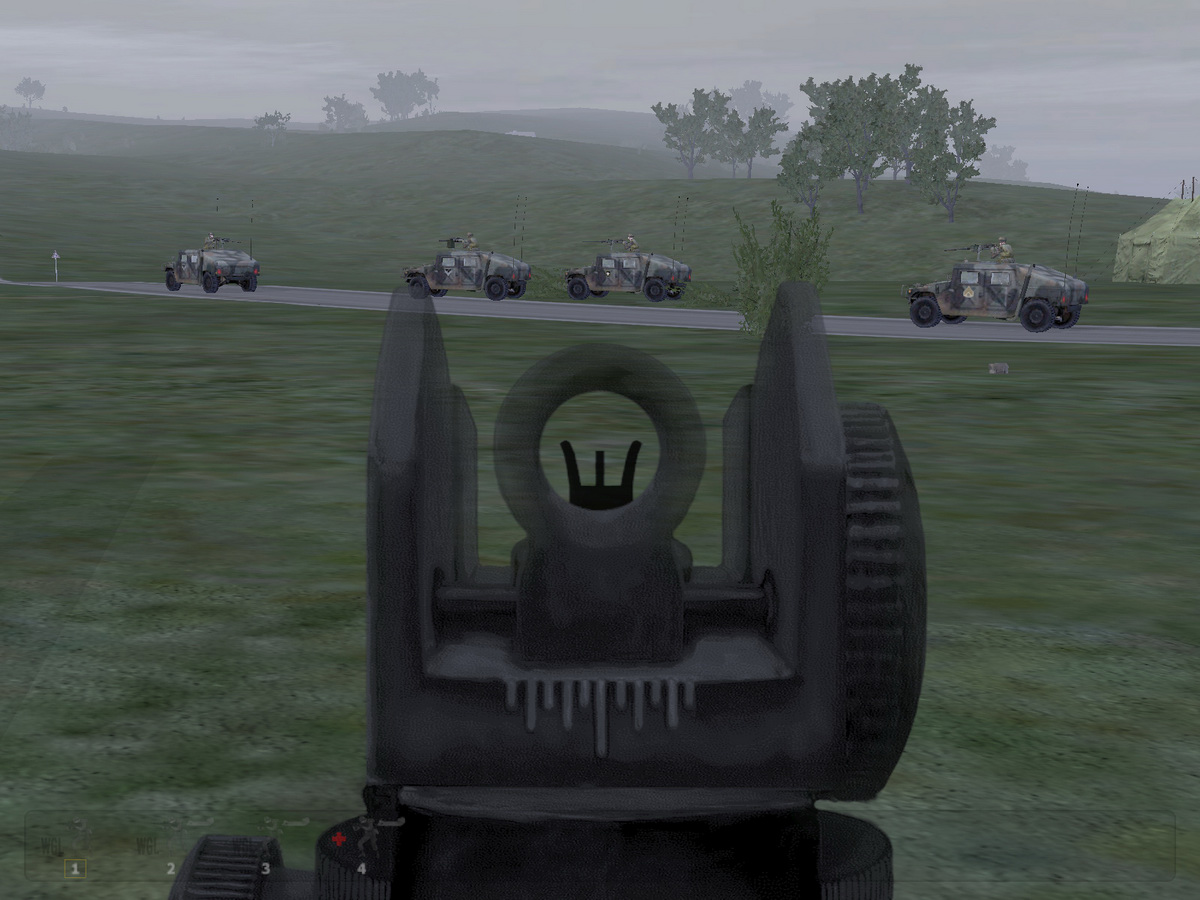
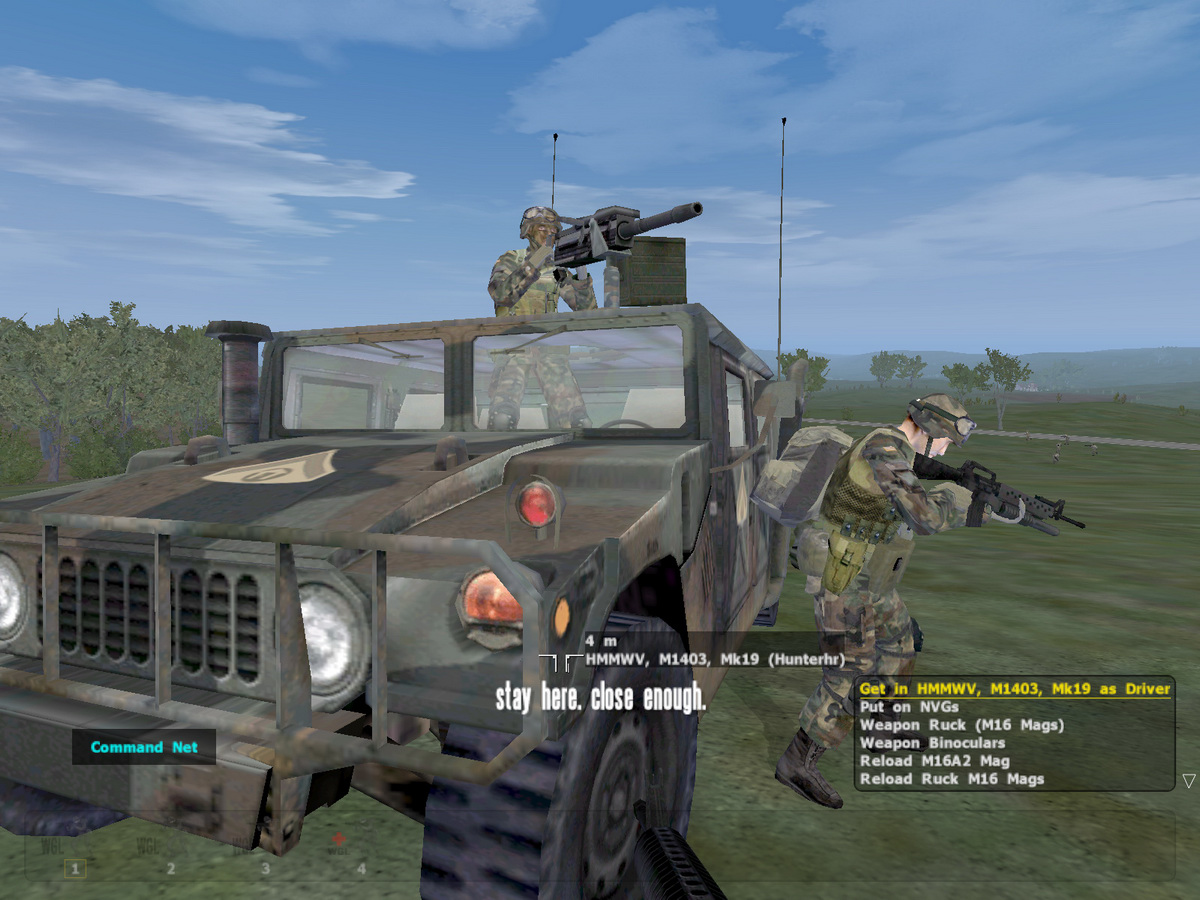
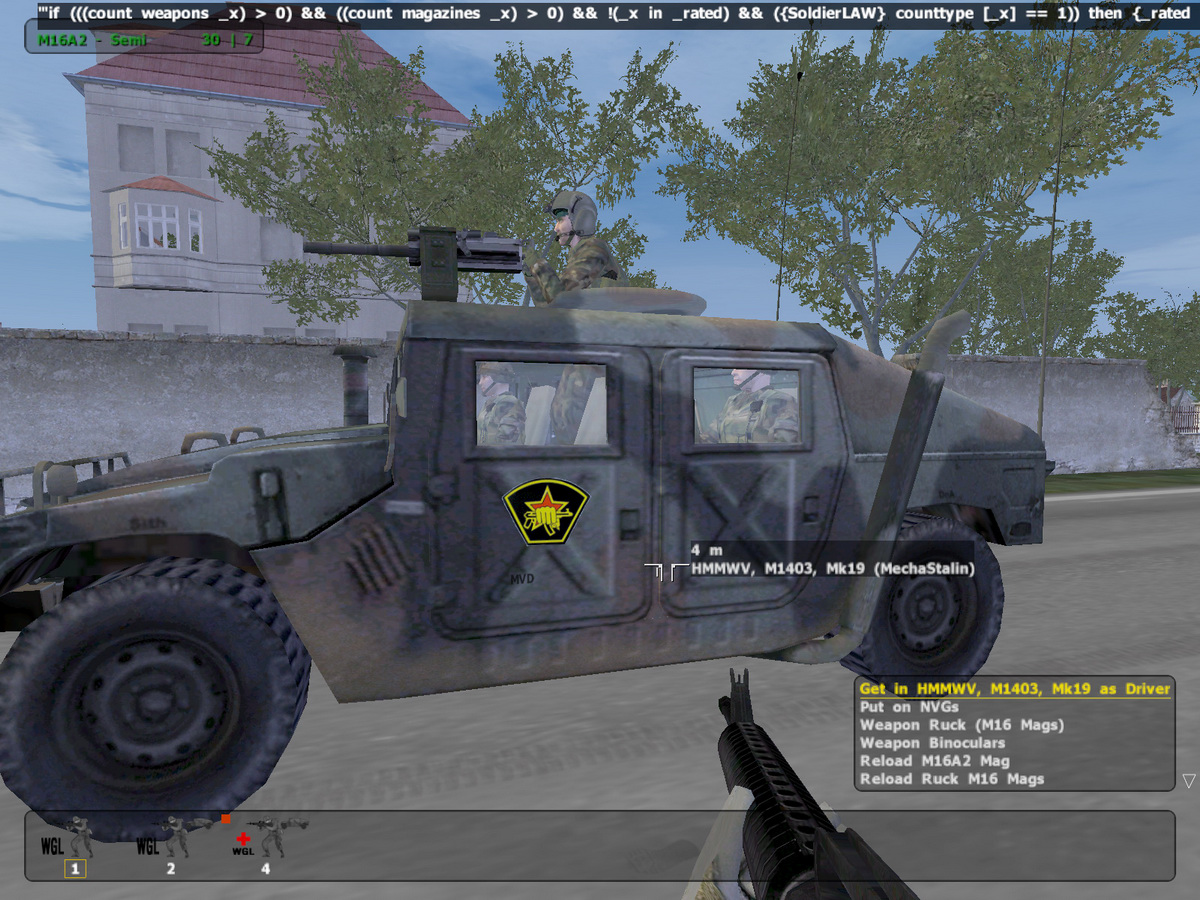
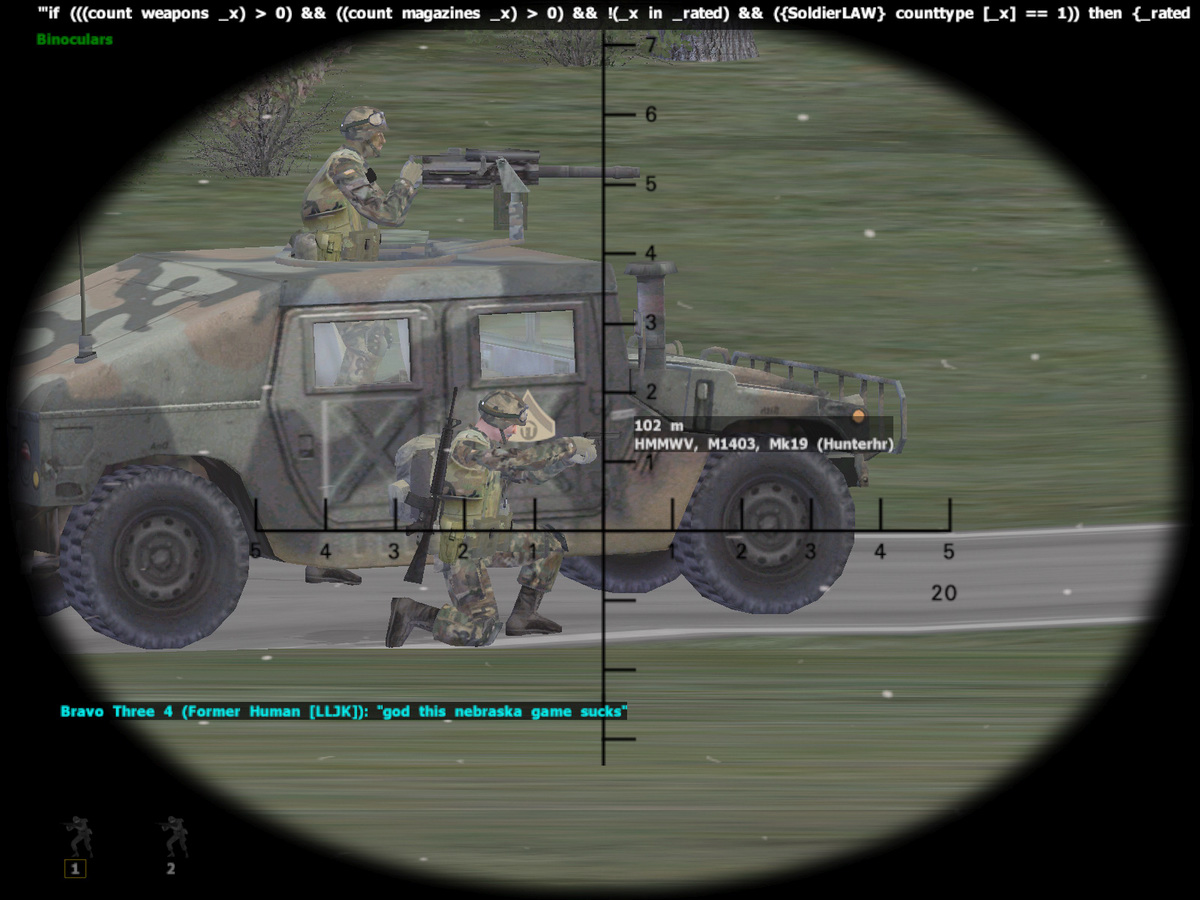
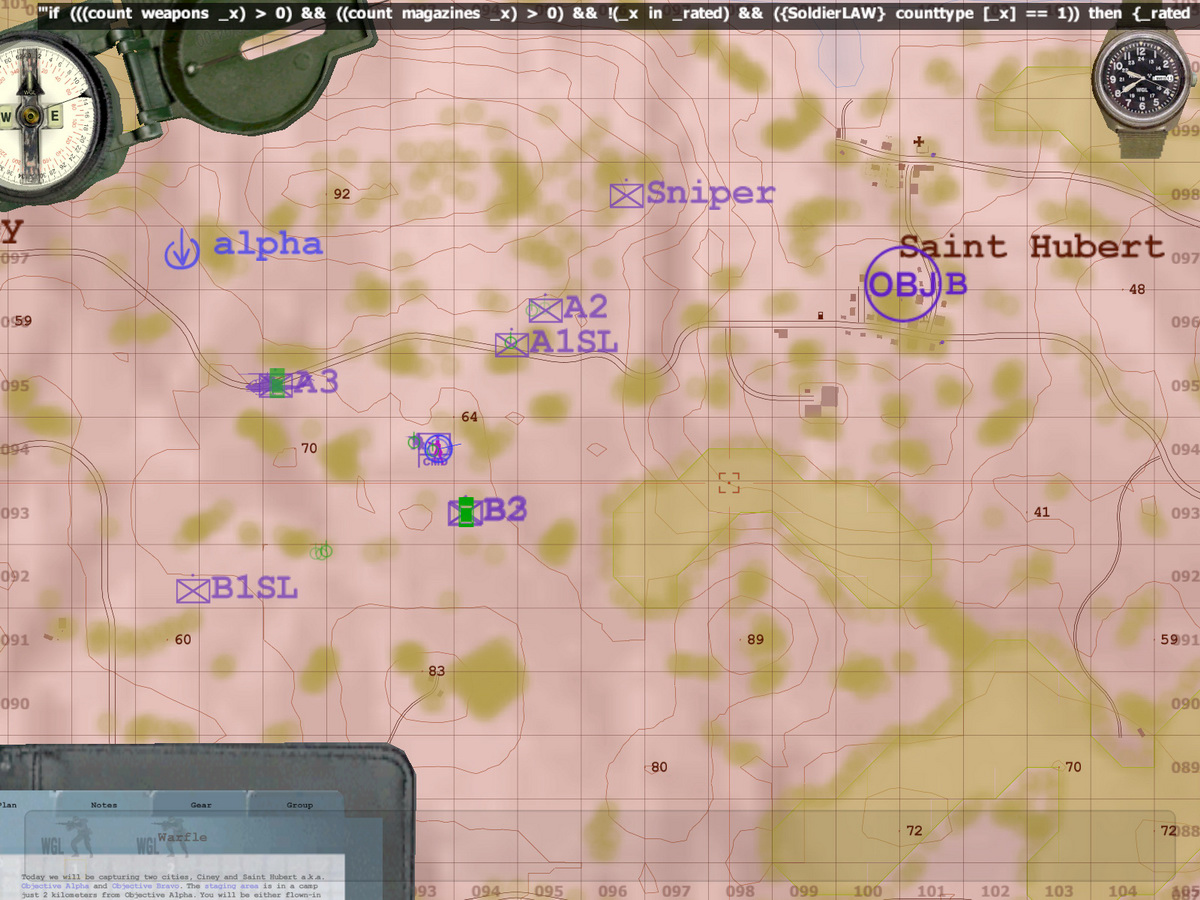
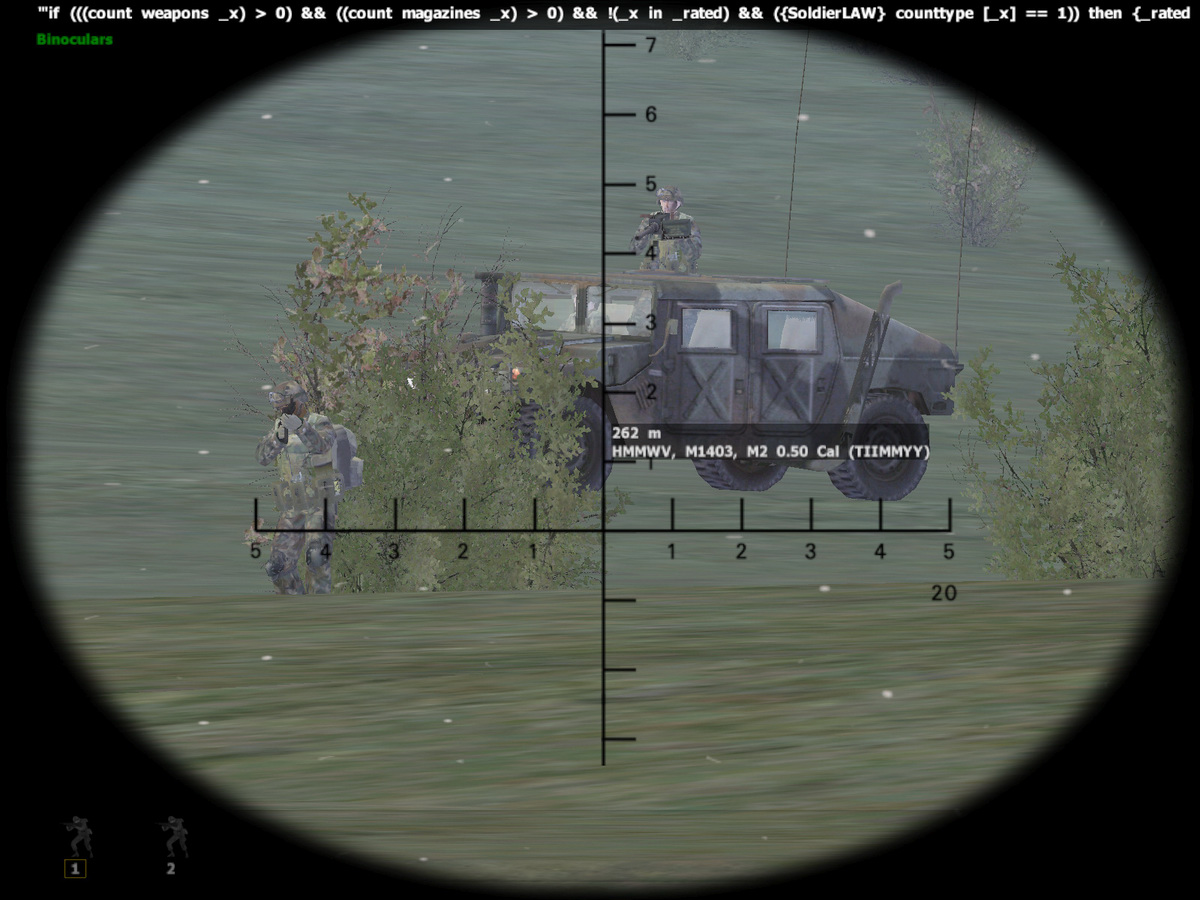
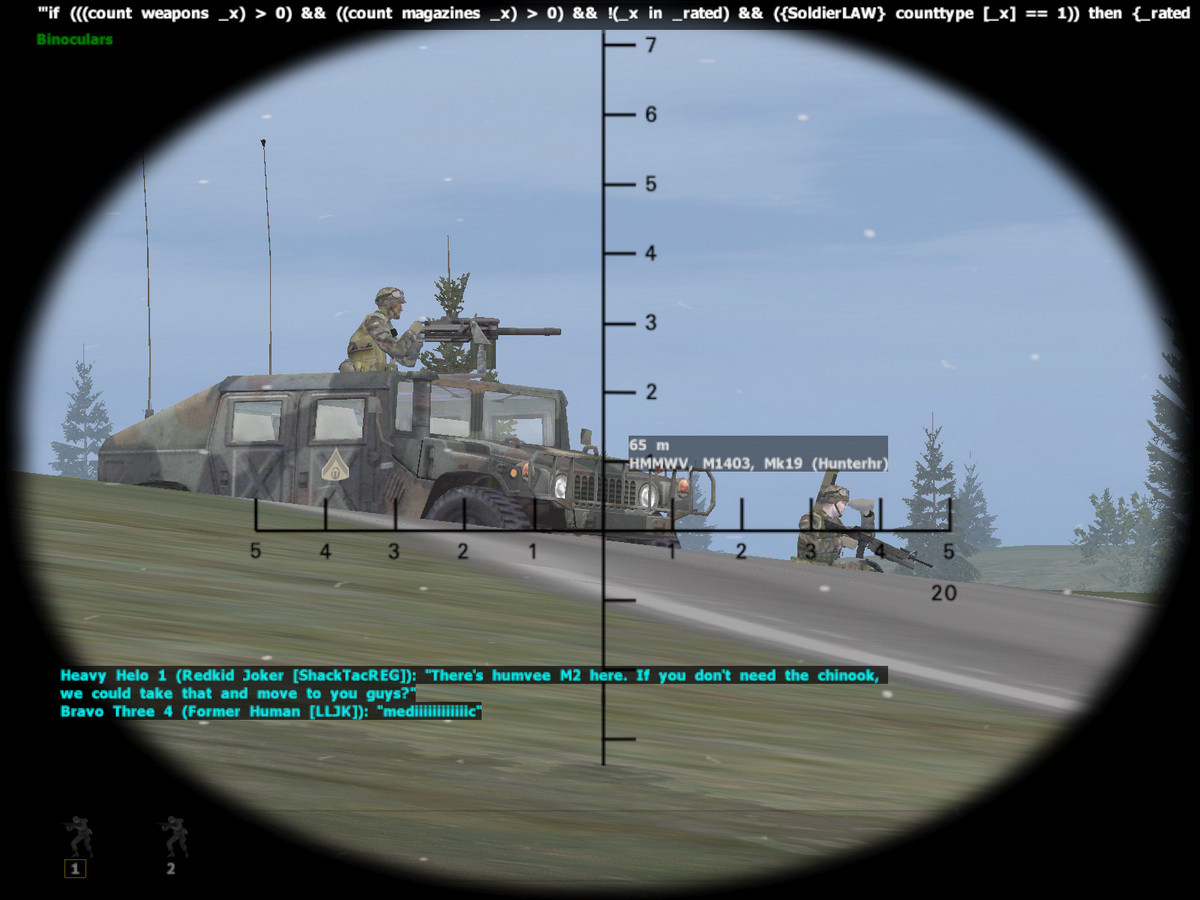
Alpha and Bravo squads mounted up on the HMMWVs we had at around 6:30pm. There were five HMMWVs in total – three of them had M2 .50cal heavy machineguns, and the other two had Mk-19 40mm grenade machineguns. The Mk-19’s were destined to be our platoon’s organic heavy-hitters.

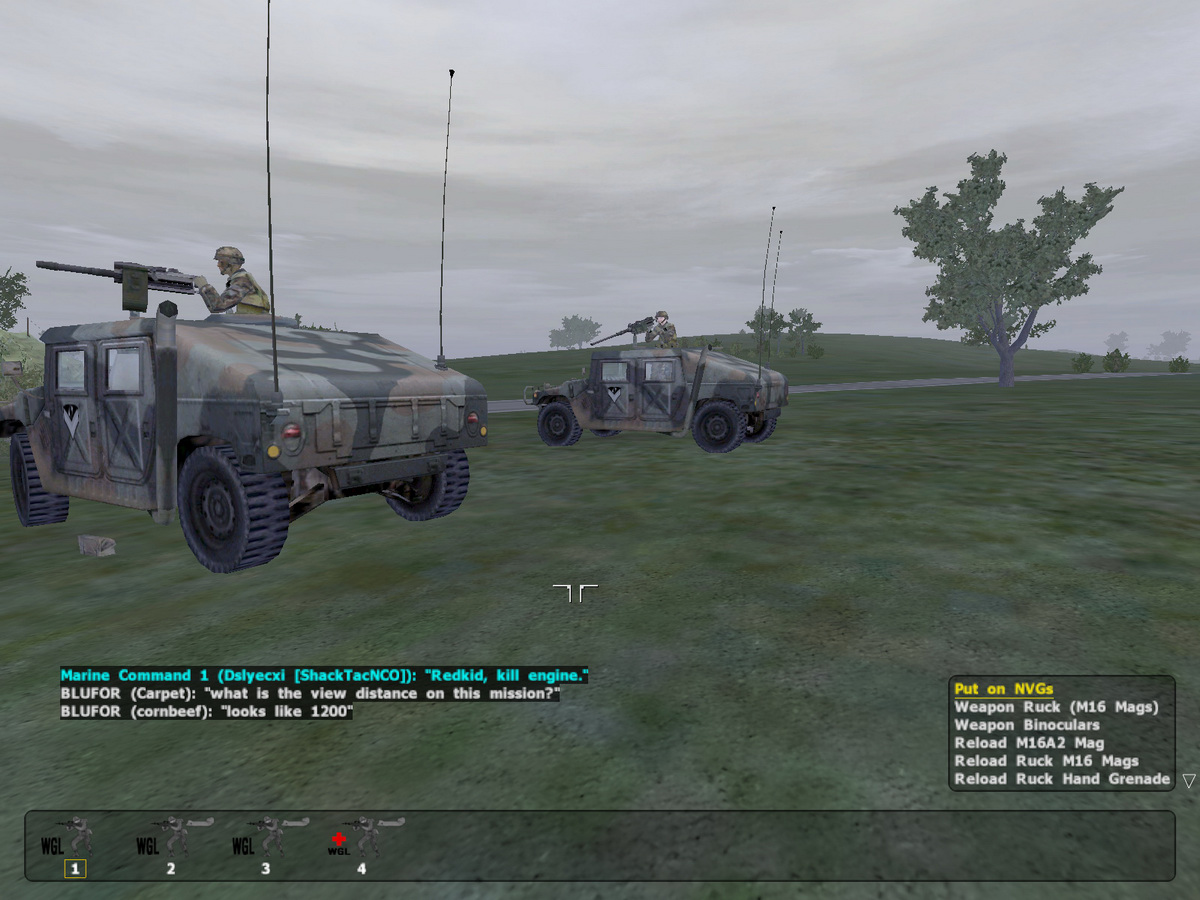
Alpha squad embarked without incident, but Bravo found themselves short one HMMWV. Bravo 2 thus was temporarily attached to the Command element, which was hanging back with the CH-47 at the start.
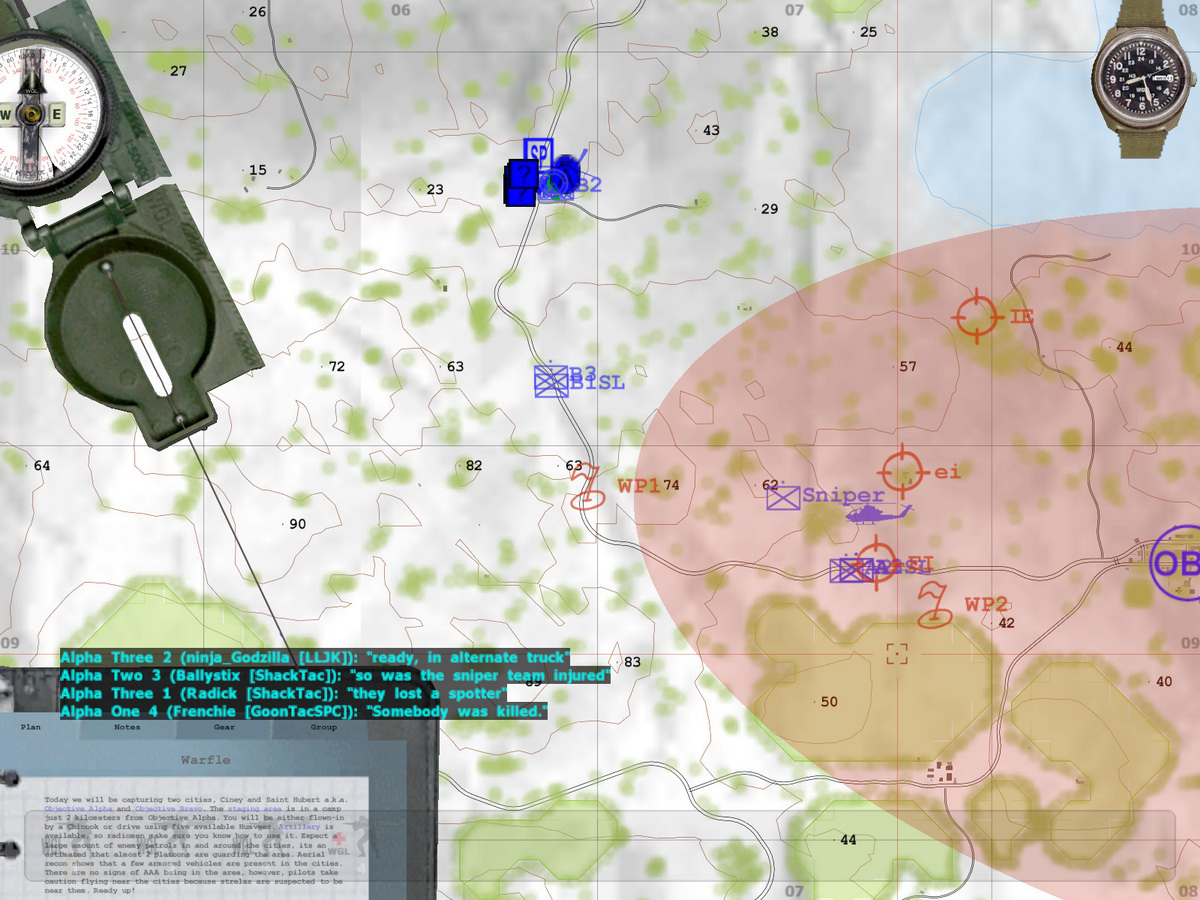
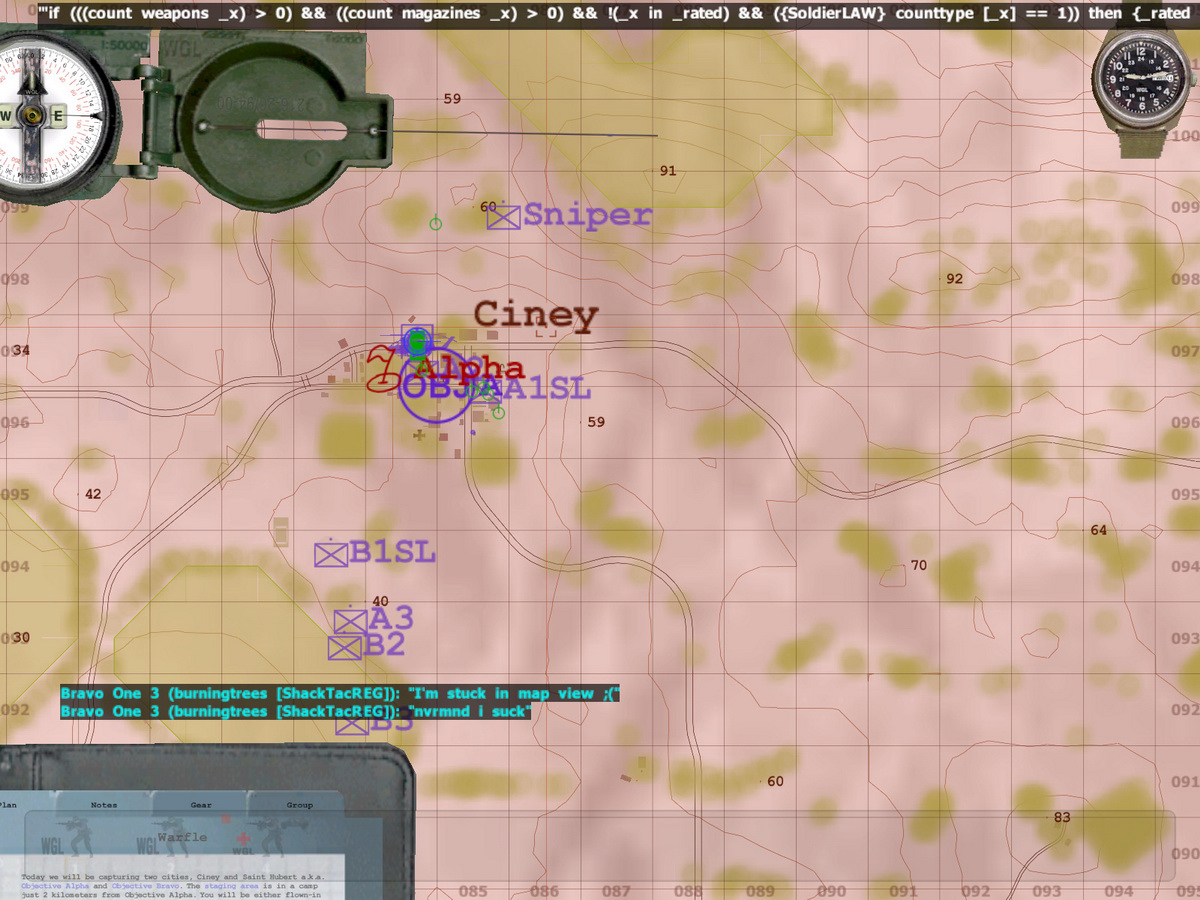
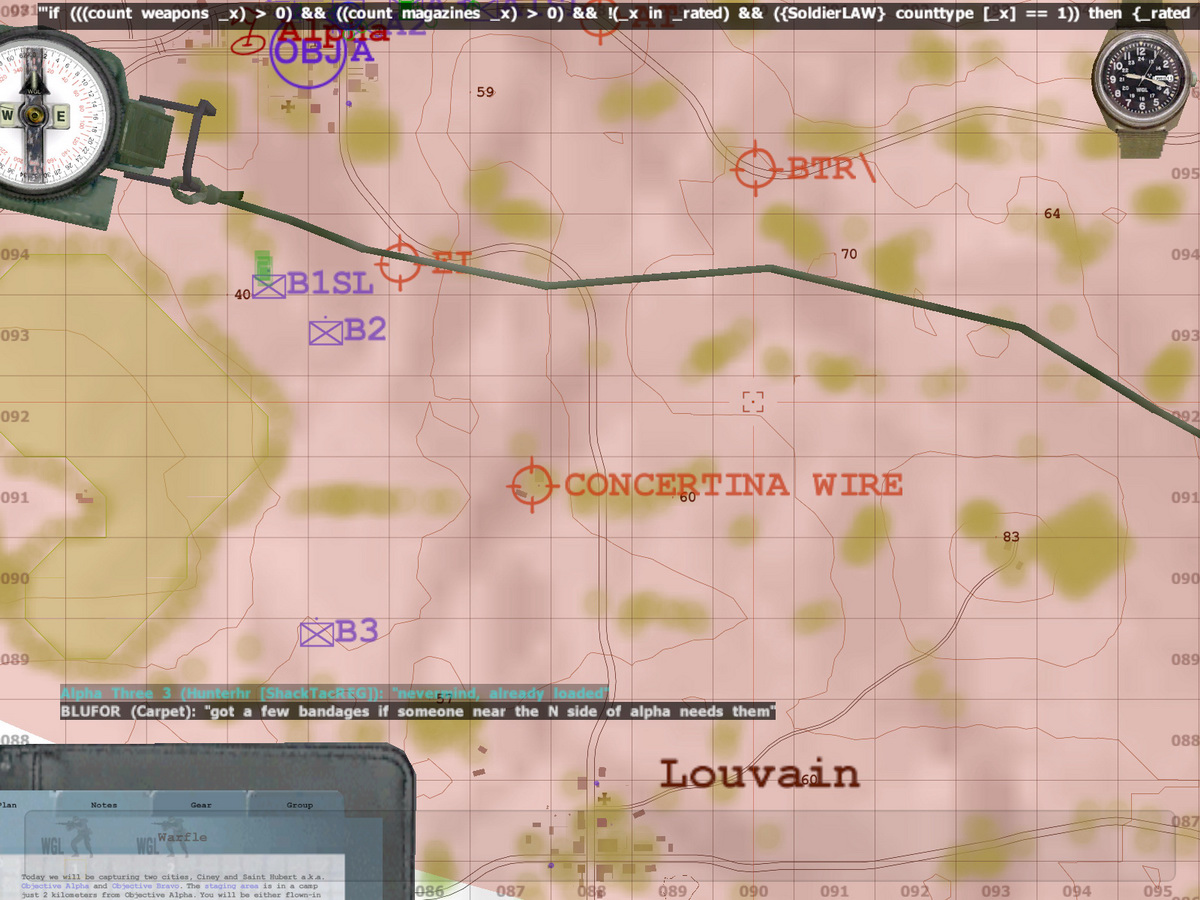
I had been pondering the map during all of this, planning out our first moves. The nearest town and first objective was Ciney, perhaps 2.5km distant by way of road. Our scout/sniper team was already a good distance out, and the Cobra was reporting targets as they saw them. I gave them directions to engage at will, and we could soon hear the thump-thump-thump of the 20mm Cobra cannon as it lit into some hostiles.
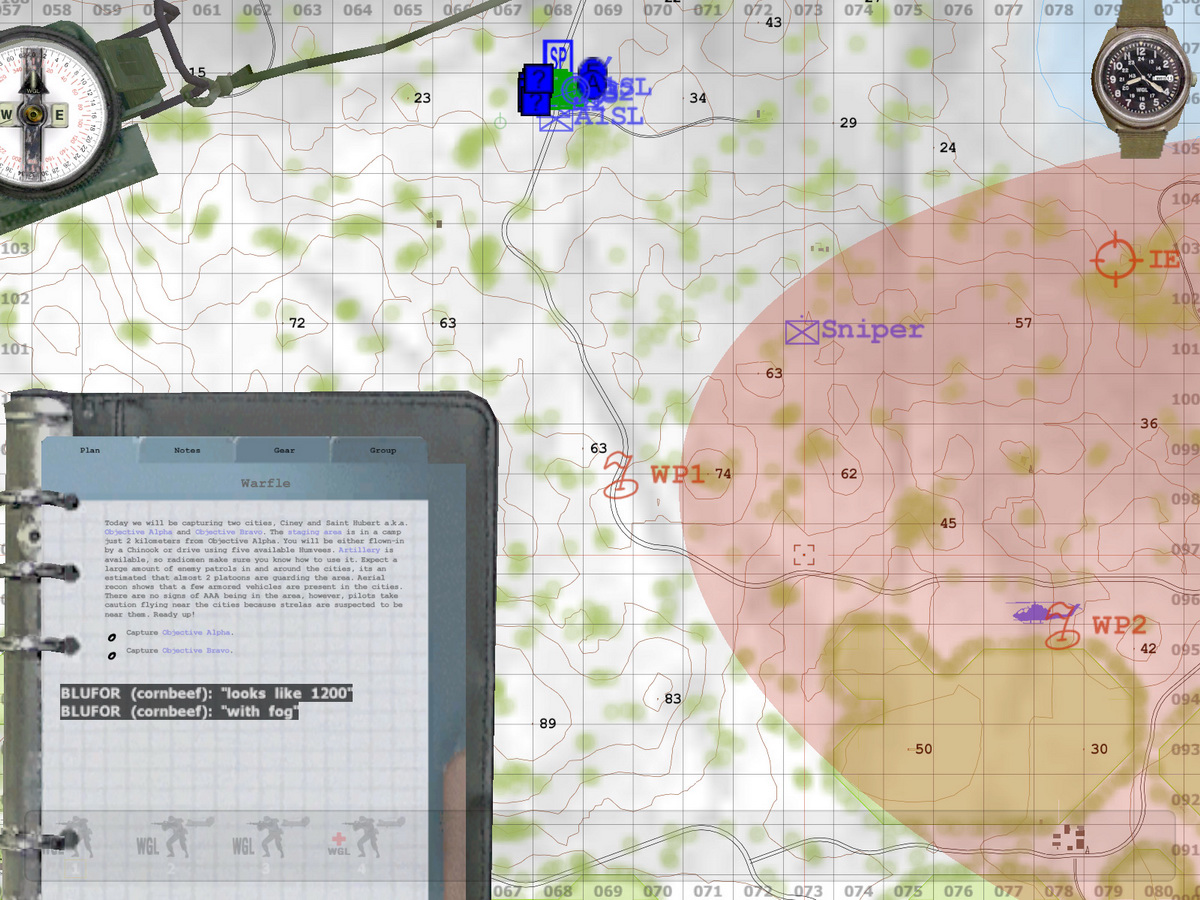
I decided it would be easiest to take a pretty direct route. We would move out with Alpha squad acting as our leading element and Bravo trailing them by no less than 500 meters to provide security and fire support during the movement. Waypoints were marked – the first would be a hold point for Alpha until our Cobra could do a route recon of the road. The vehicles moved off, stopping shortly after as they reached Waypoint 1. The Cobra made a pass over the road – no enemies were spotted, and so I gave the command to move on to the second waypoint.
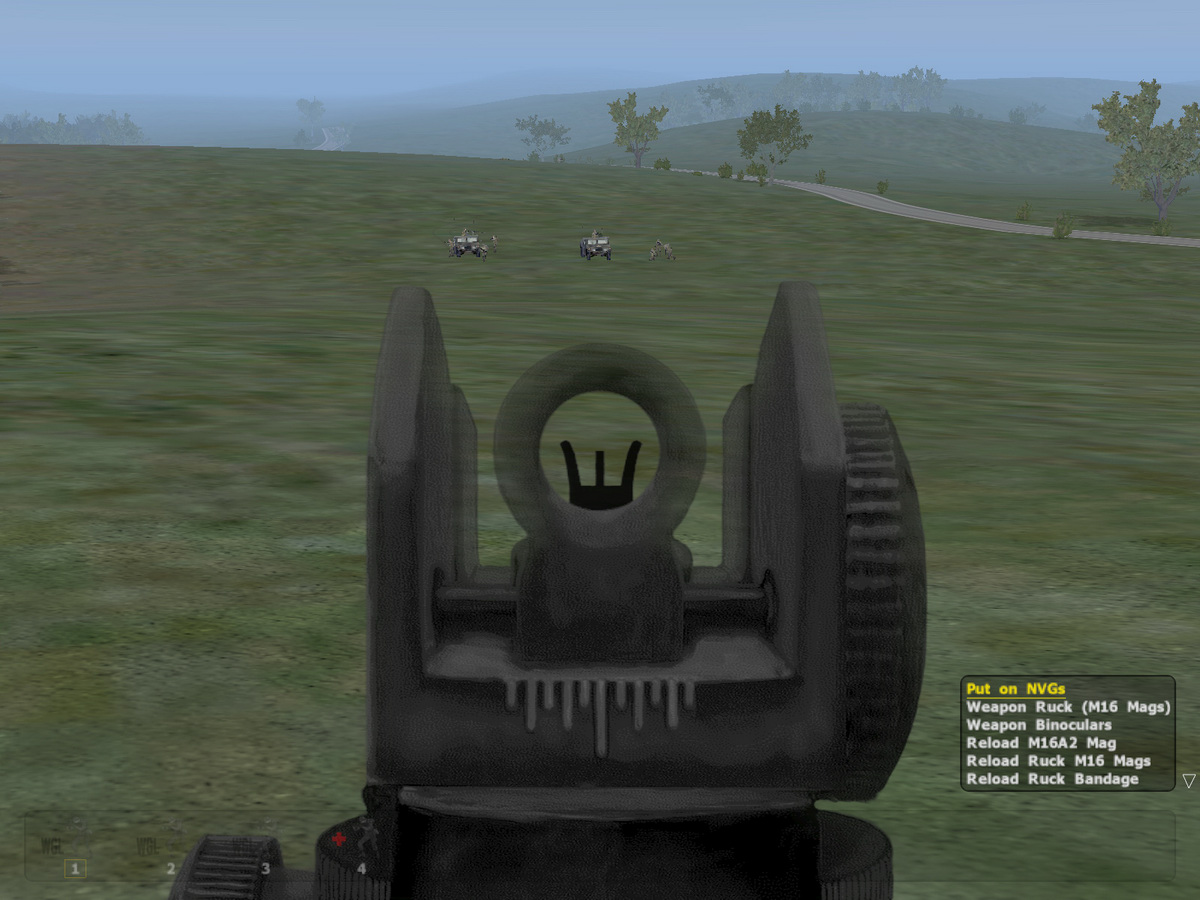
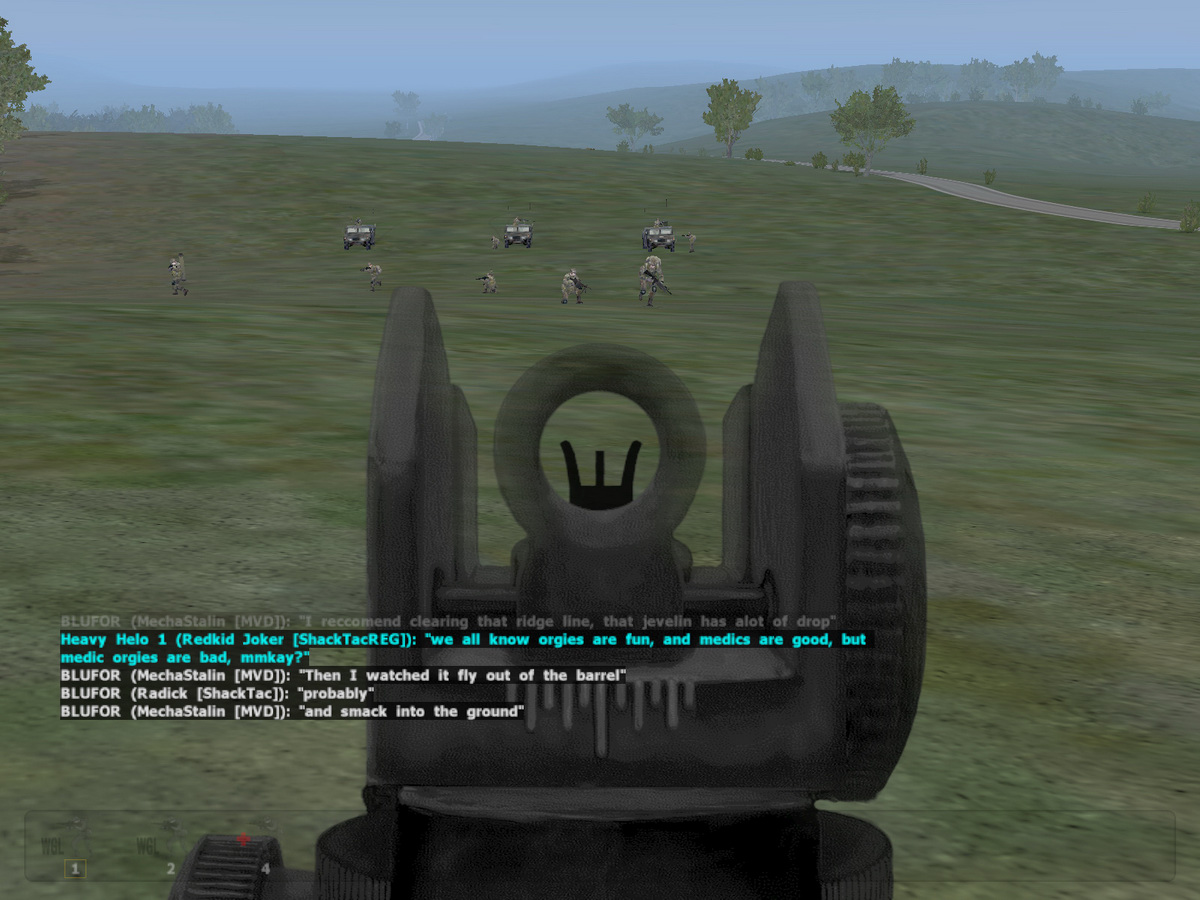
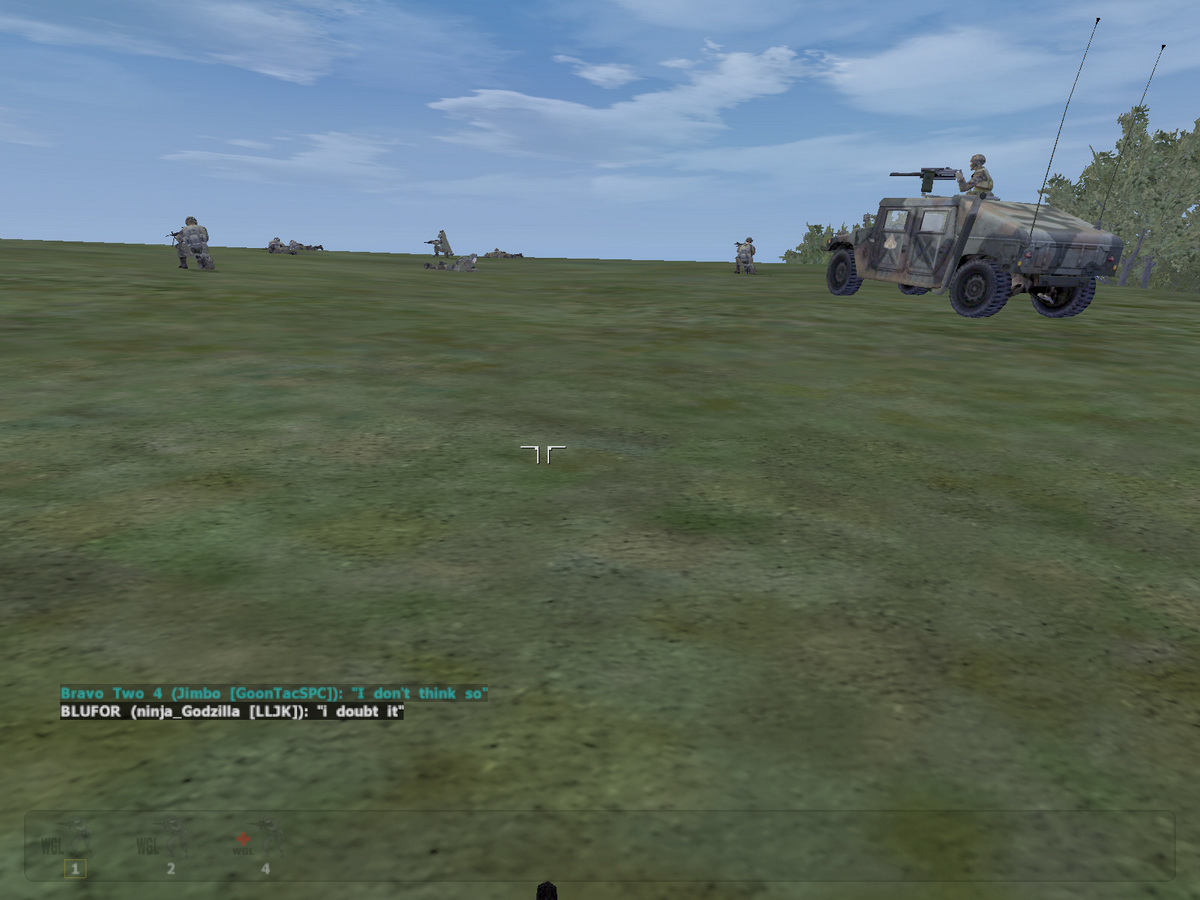
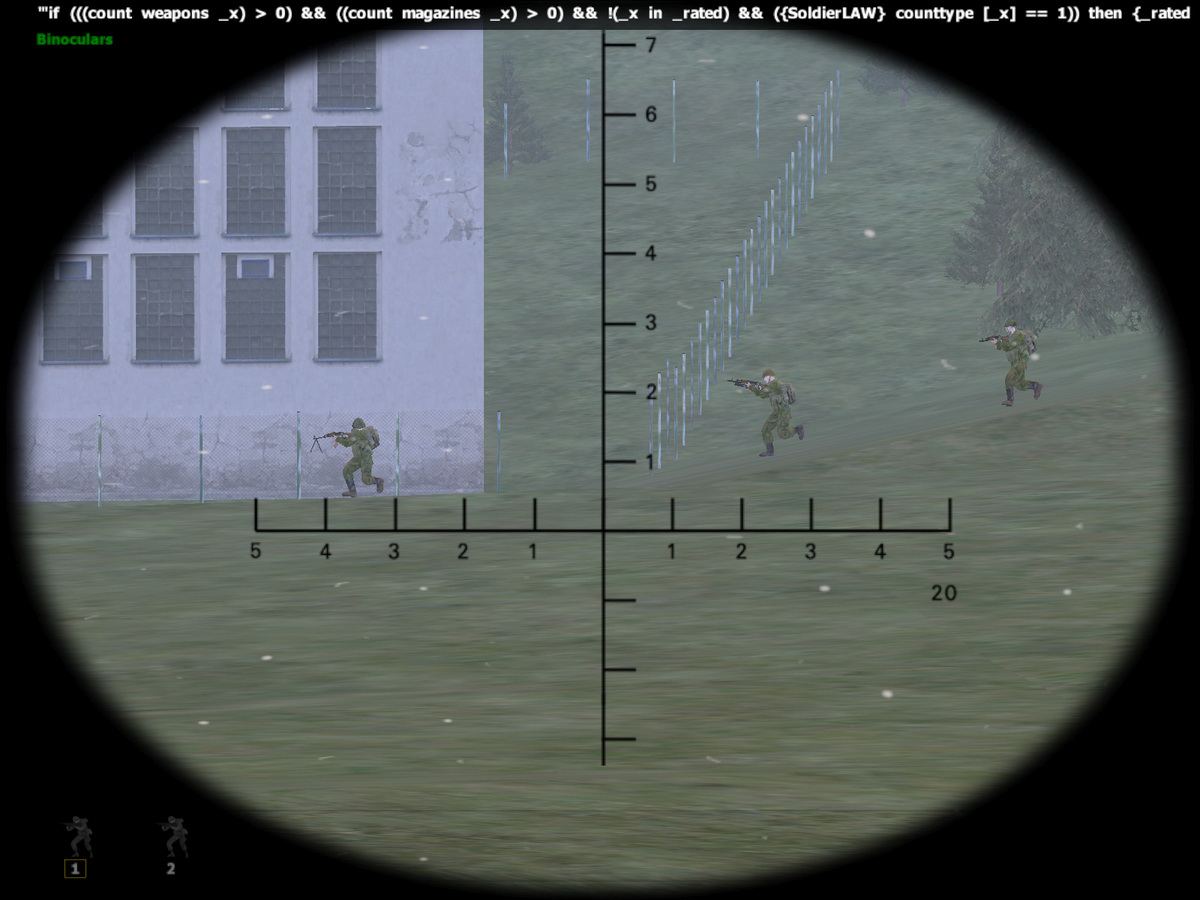
On the way to WP2, Alpha ran into about a squad’s worth of enemy infantry. A firefight ensued, with the Cobra providing close support during the engagement. The Scout/Sniper team spotted additional enemy forces to the north of the main fight, and due to the fog of war, a HMMWV from Alpha 3 ended up mistakenly engaging the sniper team instead of the enemy infantry that was nearby. This ended up costing the life of the spotter, TMAN, who was cut down by the machinegun fire. It was unclear at the time as to whether the Cobra had gunned down TMAN or if Alpha squad had, so I played it safe and had the Cobra break off and head further to the East to scout out Ciney and any enemy forces near it and avoid any possible future FF incidents.
At this point we had been in-mission for around sixteen minutes. One enemy squad had been wiped out, and the only casualty we had taken was from an FF mix-up. Lesson learned: It is vitally important that all elements pay attention to the location of all friendly forces and take special care when firing into areas where friendly and enemy forces are mixed.
Cobra vs Strela, Round One
Bravo at this point was still holding at WP1, further back than I wanted. I had them move up closer to support Alpha. Meanwhile, the Cobra was giving us some updates on what he saw – at the end of one sentence, we could hear the WHOOP WHOOP WHOOP of the aircraft’s threat sensor. There was silence over the command channel – I knew, as did everyone else, that some kind of anti-aircraft missile had just been fired at them. Whether or not they were still alive was up for question.
After a moment of silence, MechaStalin came back on the command channel to tell us that they’d been hit and were going down. We braced for the worst – as we found out afterwards, they had been hit by a Strela while flying over Ciney and had immediately attempted to return to base after suffering a fuel leak. Ten seconds into their exfiltration the engine died, leading to them crashing about a kilometer away from our field base. The sniper team – or rather, Joel, the sole survivor – was heading north at this time.
When MechaStalin came back on to tell us that both he and his gunner had survived the crash, I couldn’t help but be surprised. It was rare for that to happen. For a moment I considered sending Bravo up north to retrieve them, but then realized that they were infact quite close to our base. We had a fuel truck and an ammo truck nearby – more than enough passenger room for the two pilots. Cornbeef, one of the three others with me in the command fireteam, was sent in the ammo truck to pick them up. He did so without incident, and at 6:45pm MechaStalin and Carpet were safely returned to base. They became part of the Command element at that point, and boarded the Chinook with the rest of Command and Bravo 2. It was about time for us to join the rest of the platoon.
Download footage of the Cobra being shot down, as seen from Alpha Squad’s perspective.
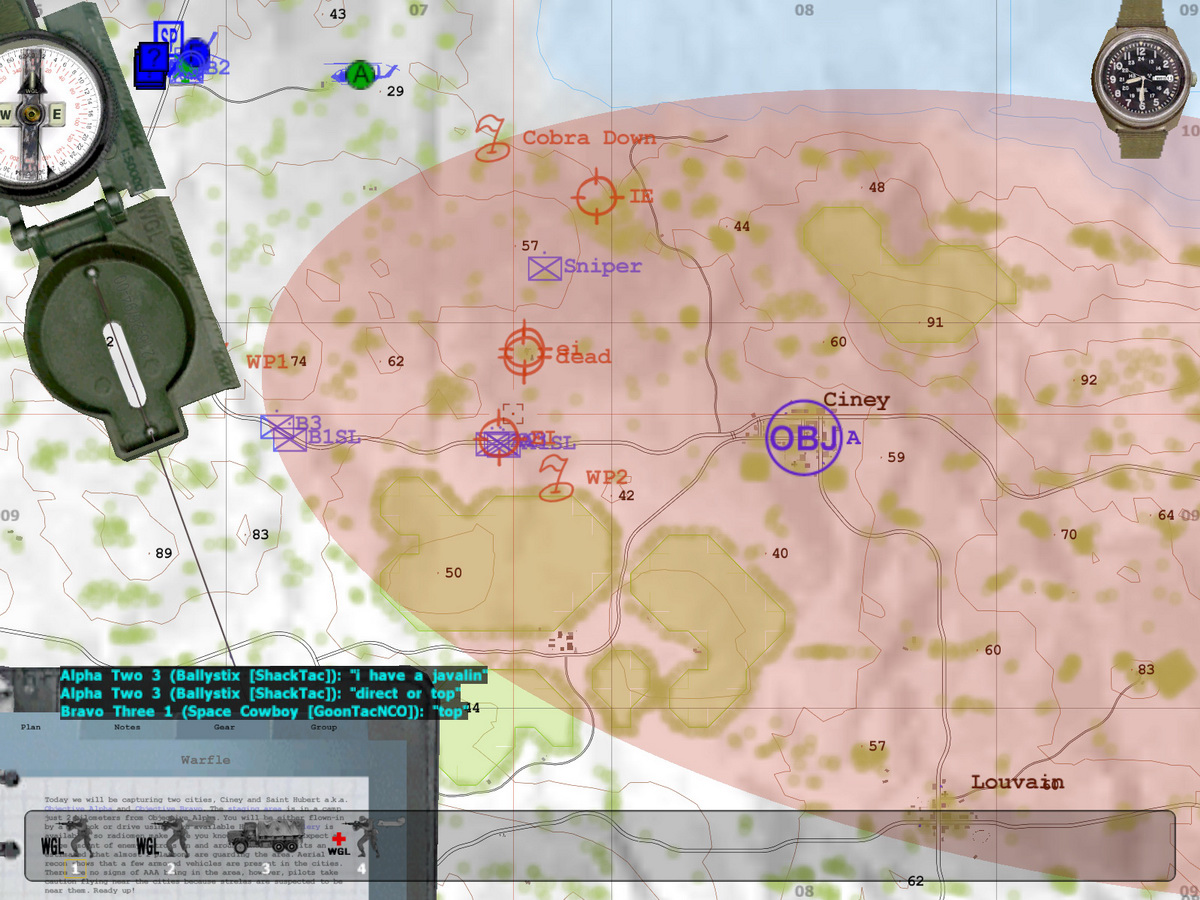
Helo crash site as seen on the map – MechaStalin and Carpet make it home – Loaded up, ready to go
Prior to that, the sniper reported he had eyes on a sizeable enemy group near where the Cobra had crashed. It was more than he could take care of by himself, so we ended up calling in an artillery strike on it. Burningtrees, of Bravo 1, was our designated Forward Observer. He was relatively new to the process of calling for artillery, but fortunately he had Awoihjaweohr, his squad leader, to talk him through it. I asked that they sight in and prepare a volley of three rounds per gun (12 rounds total), firing the normal sheath at high-angle. They were to fire only when I gave them the go-ahead – I wanted to get the Chinook to bring us to the rest of the platoon and leave the area before the rounds were flying, just to be on the safe side.
Staging for Ciney
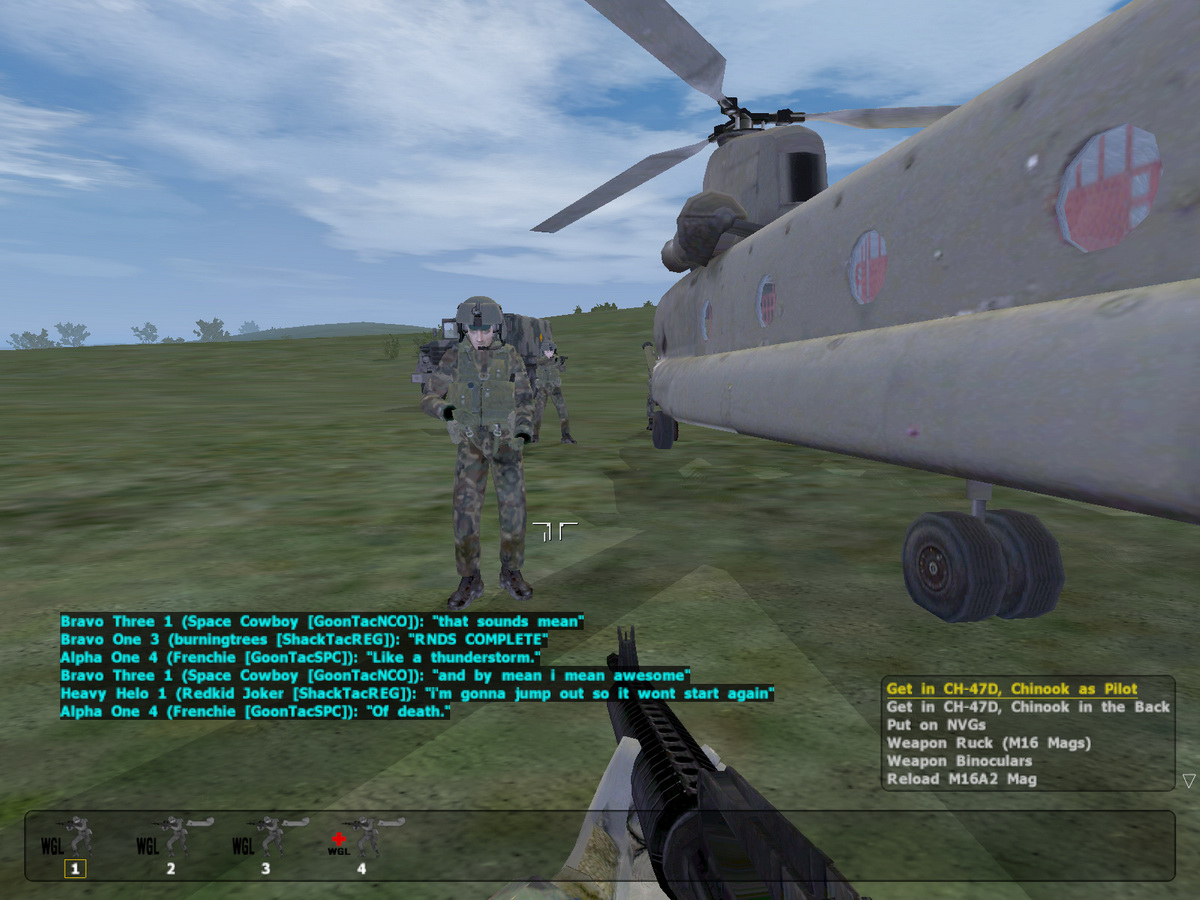
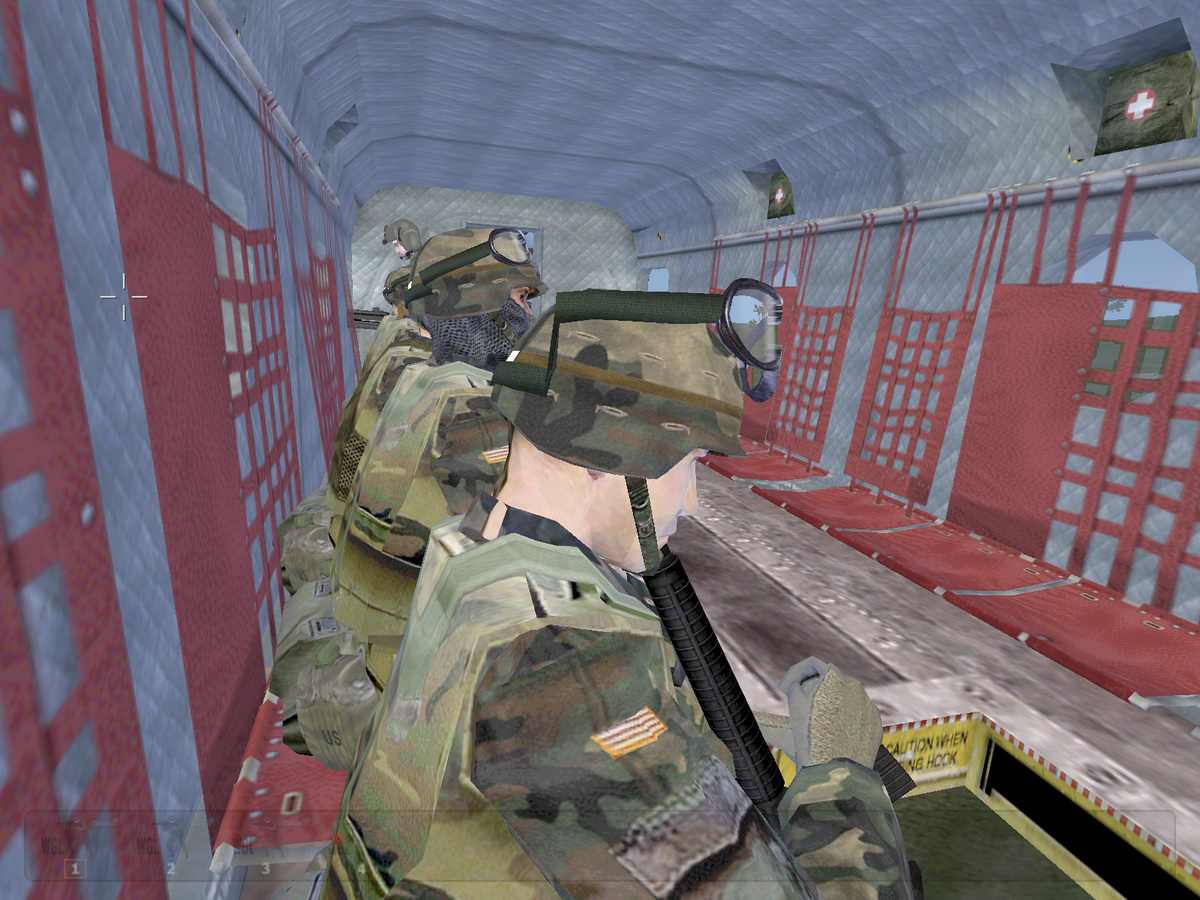
Redkid Joker, the Chinook pilot, lifted off and brought us south to a landing zone that had been secured by Bravo 1 and Bravo 3. We touched down, ran clear of the helo, and watched as it lifted off once more without incident and returned to base. Bravo 2 was reunited with Bravo squad, and the Command element slowly advanced to the south of the main road, with Cornbeef acting as scout. We were heading for hill 42, which we would be using to put fire on Ciney when the time called for it.

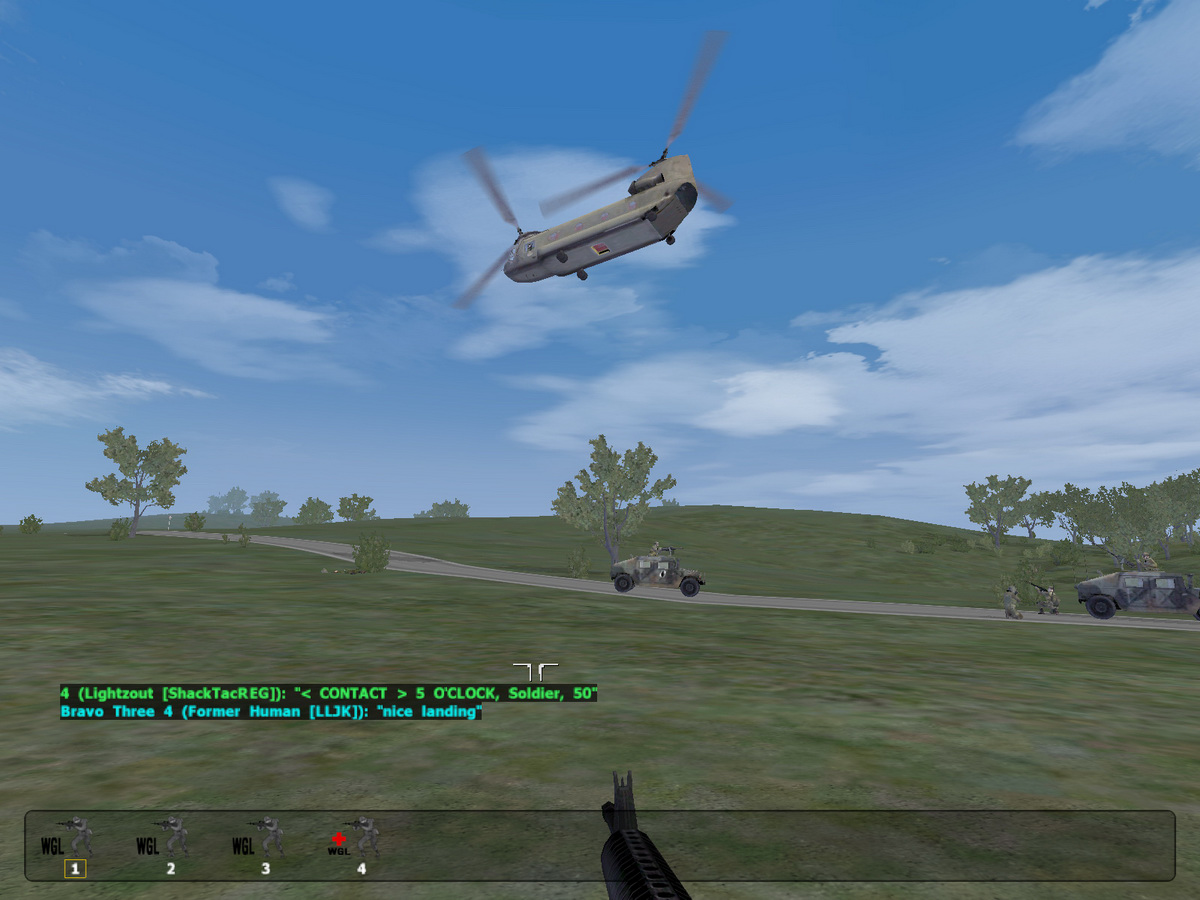

CH-47 drop-off and Bravo 2 fireteam rejoining the squad.
At this point, the artillery strike aimed at the enemy infantry our sniper had spotted was called in. The rounds whooshed overhead and exploded amongst the enemy with tremendous force. Joel reported that the rounds had wiped out the group, and I asked Bravo to sight in on Ciney next and get a barrage prepared (double-check).
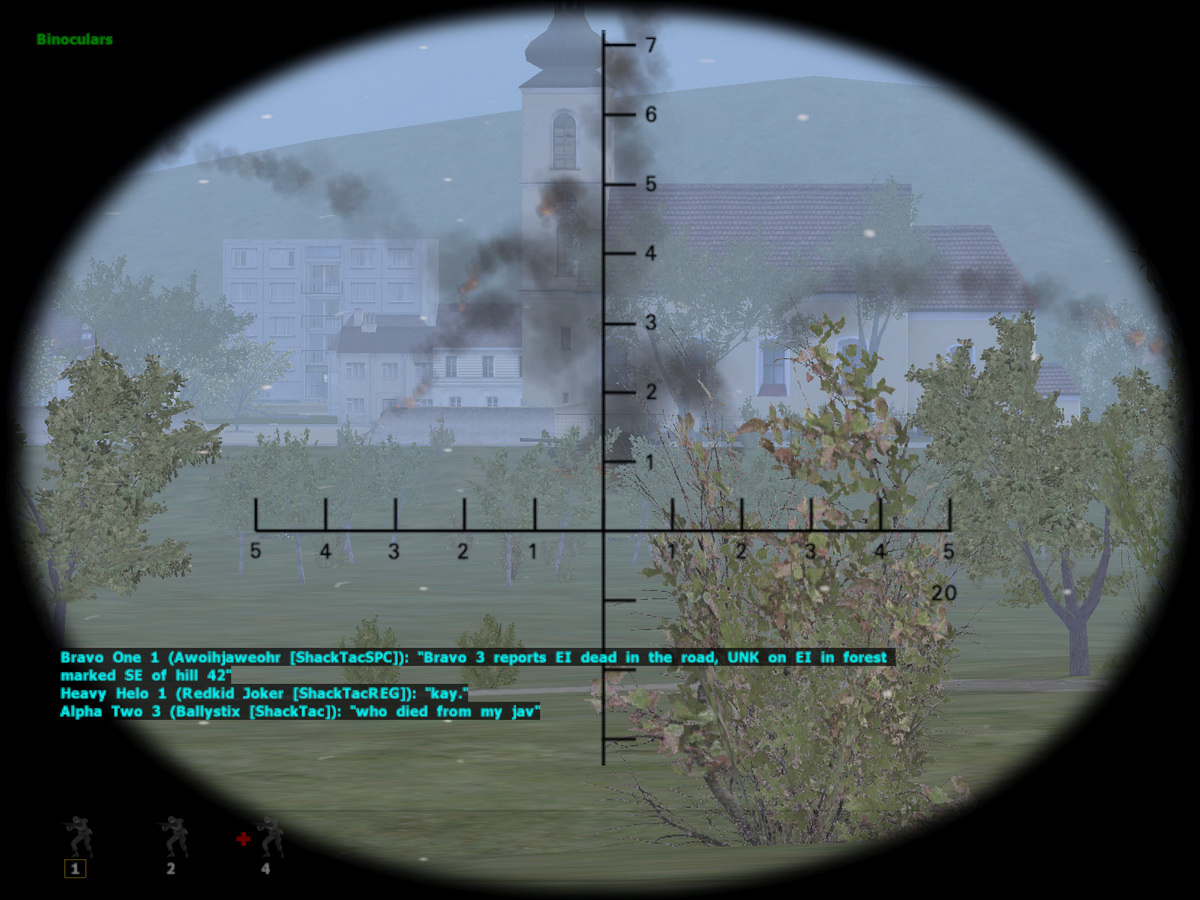
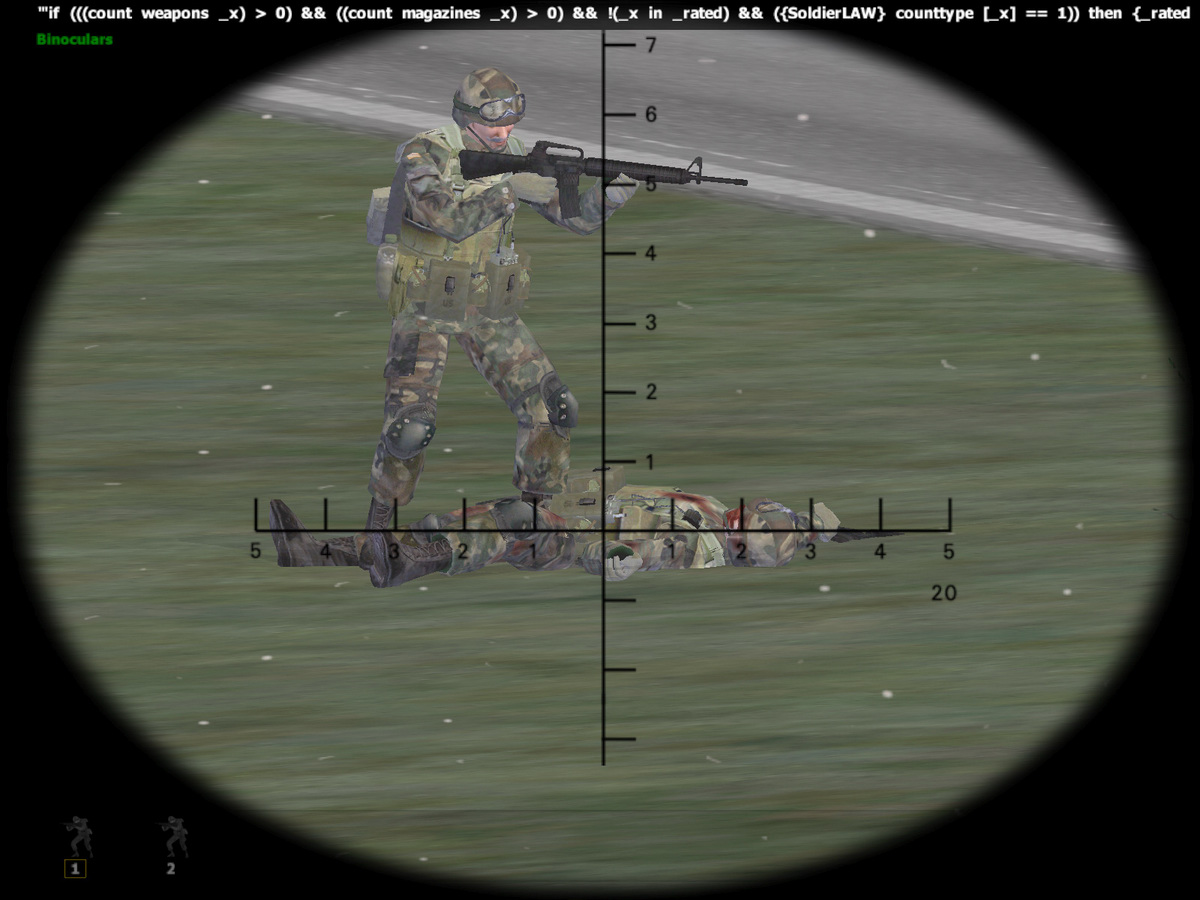
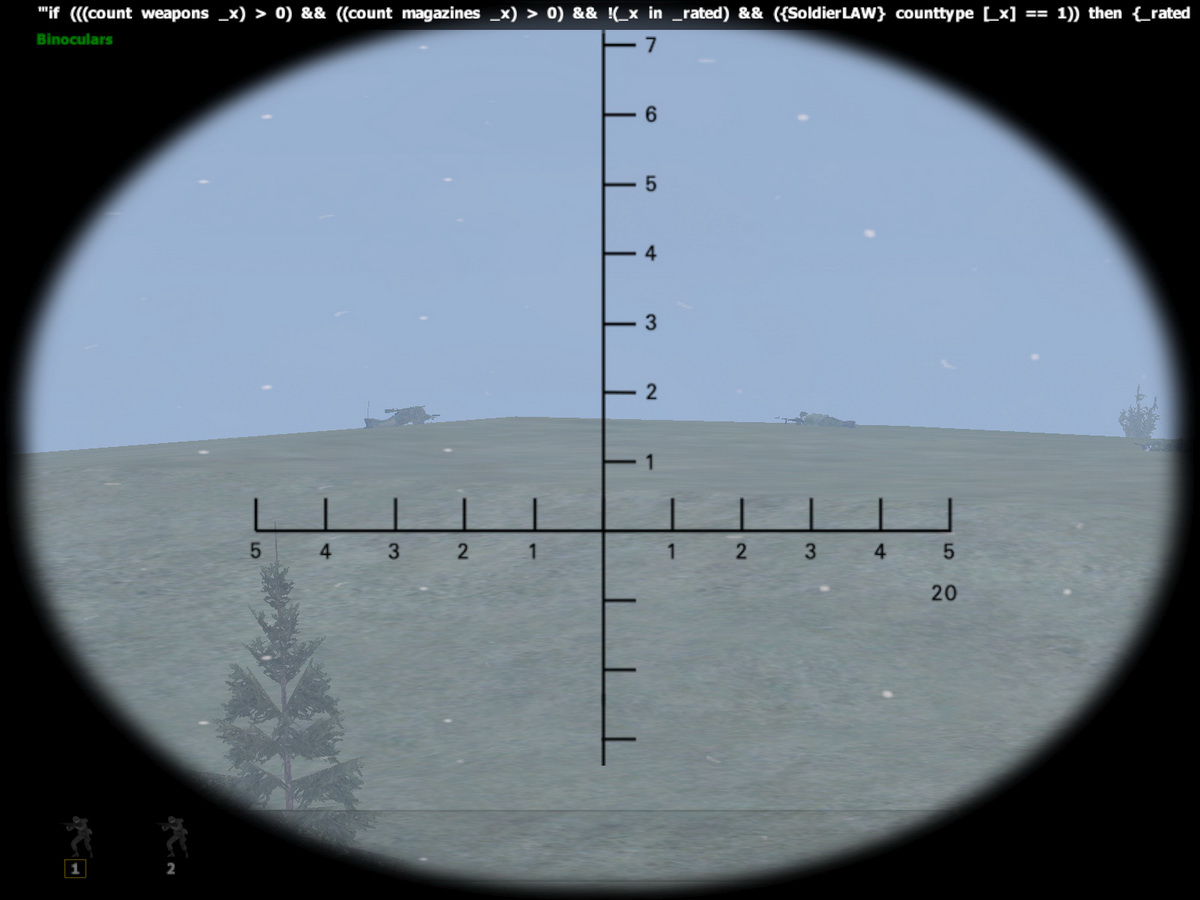
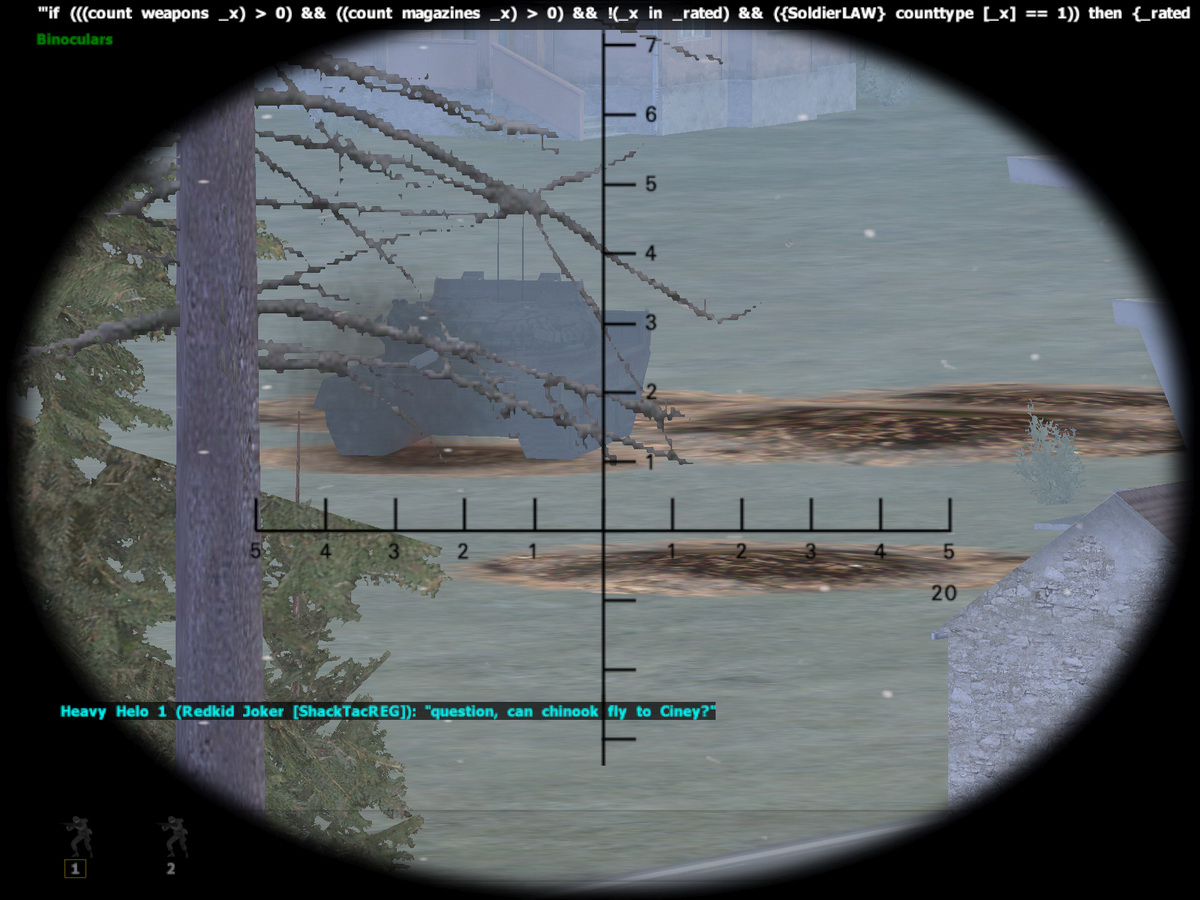
Alpha had engaged another squad during our movement. They ended up firing over our heads during part of it, which was fine so long as we made sure to keep our heads below the crest of a hill and not advance further until things quieted down. Once they did, we continued on to hill 42. From there we had an excellent view of Ciney. After a few moments of observation through binoculars, I spotted a T-72 tank hunkered down on the edge of town. Alpha 2’s Javelin gunner was brought forward to take a shot at it. As I moved about the hill I stumbled upon a fallen Alpha soldier, dead face down with his M249 SAW laid out beside him. Apparently the fighting we had heard on our way to the hill had claimed the life of one of our own. It was to my knowledge the first enemy-inflicted casualty we had incurred.
Cornbeef scouts the way to Hill 42 – Casualty on Hill 42
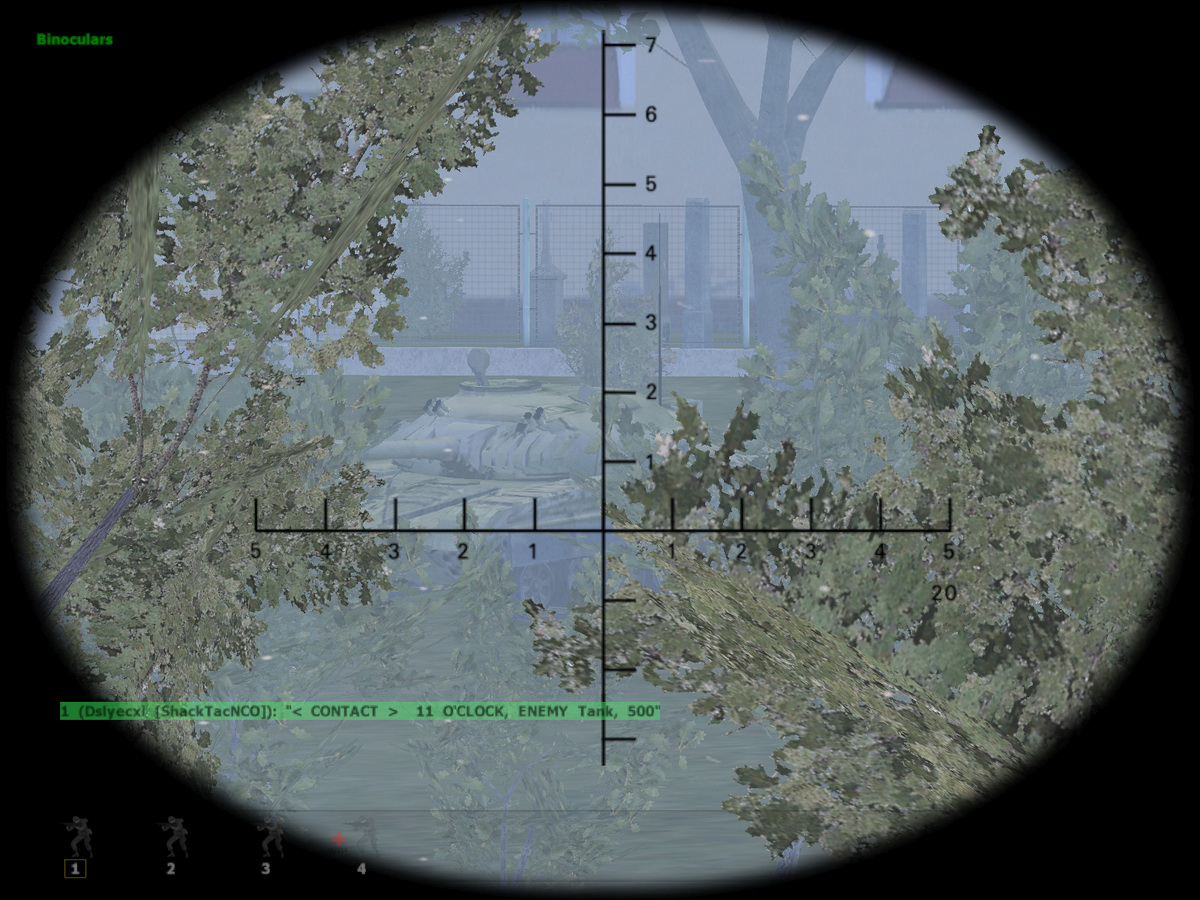
T-72 spotted – Mk-19 waits in reserve
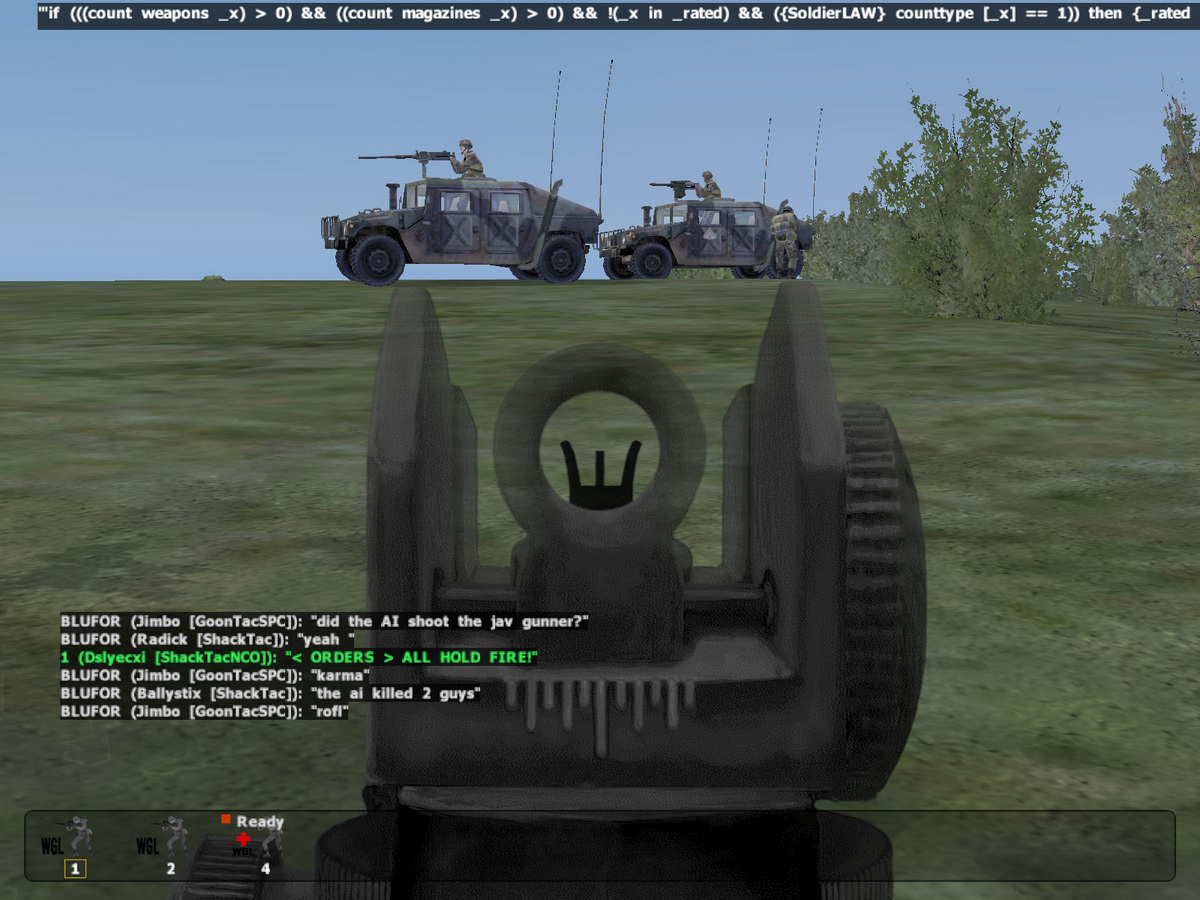
Before the tank was engaged, I had our Mk-19 HMMWVs situate themselves on the reverse slope of Hill 42, out of sight of the enemy. Once we knocked out the tank, I intended to have them drive forward to the top of the hill and rain 40mm grenade death upon the enemy infantry defenders.
Alpha squad was situated on Hill 42, with Bravo holding back a few hundred meters to provide rear security and depth to our platoon. The Javelin gunner was having a bit of trouble getting a good look at the enemy tank from his position – he shifted a bit on the hill before finding a good vantage point.


Bravo in reserve, the Javelin gunner trying to get a lock, and Alpha SL scoping out the area
Of Javelins and Mishaps…
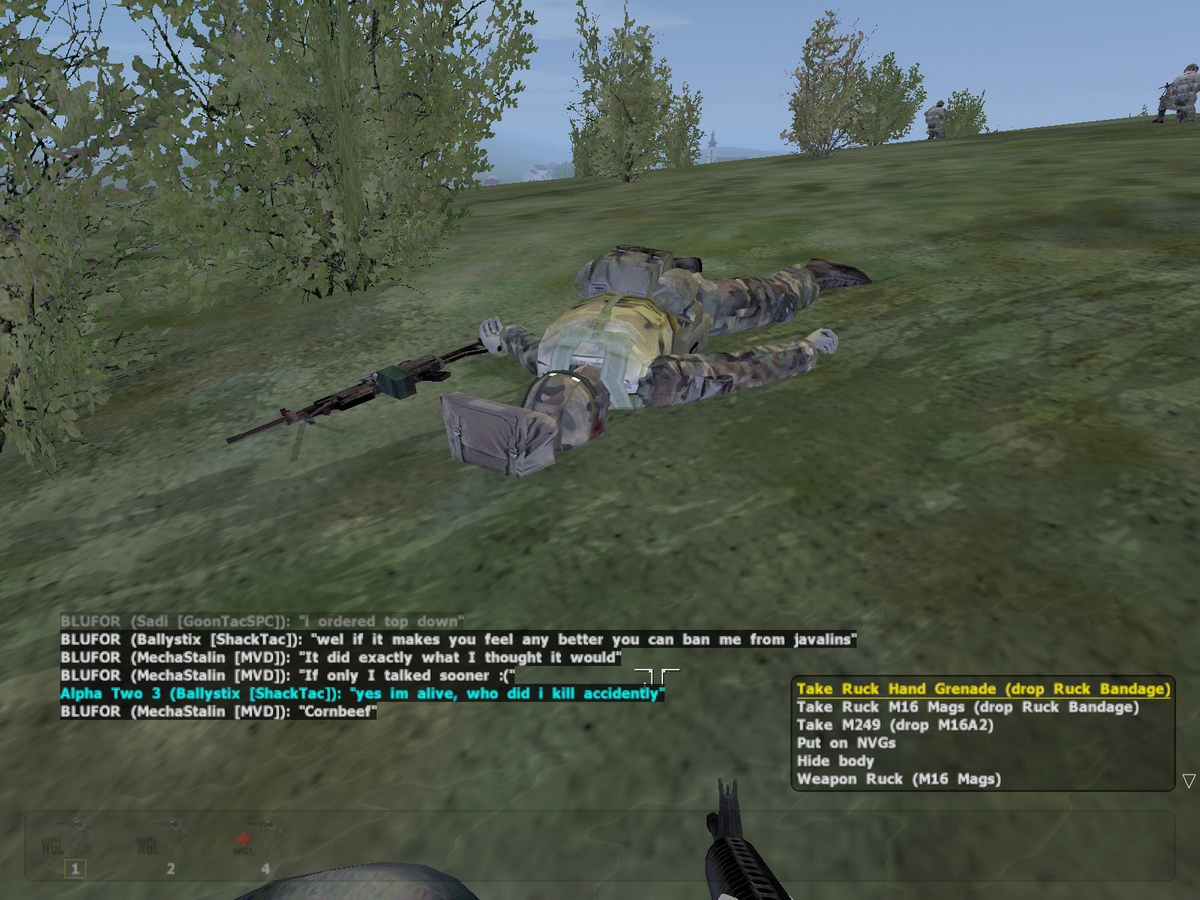
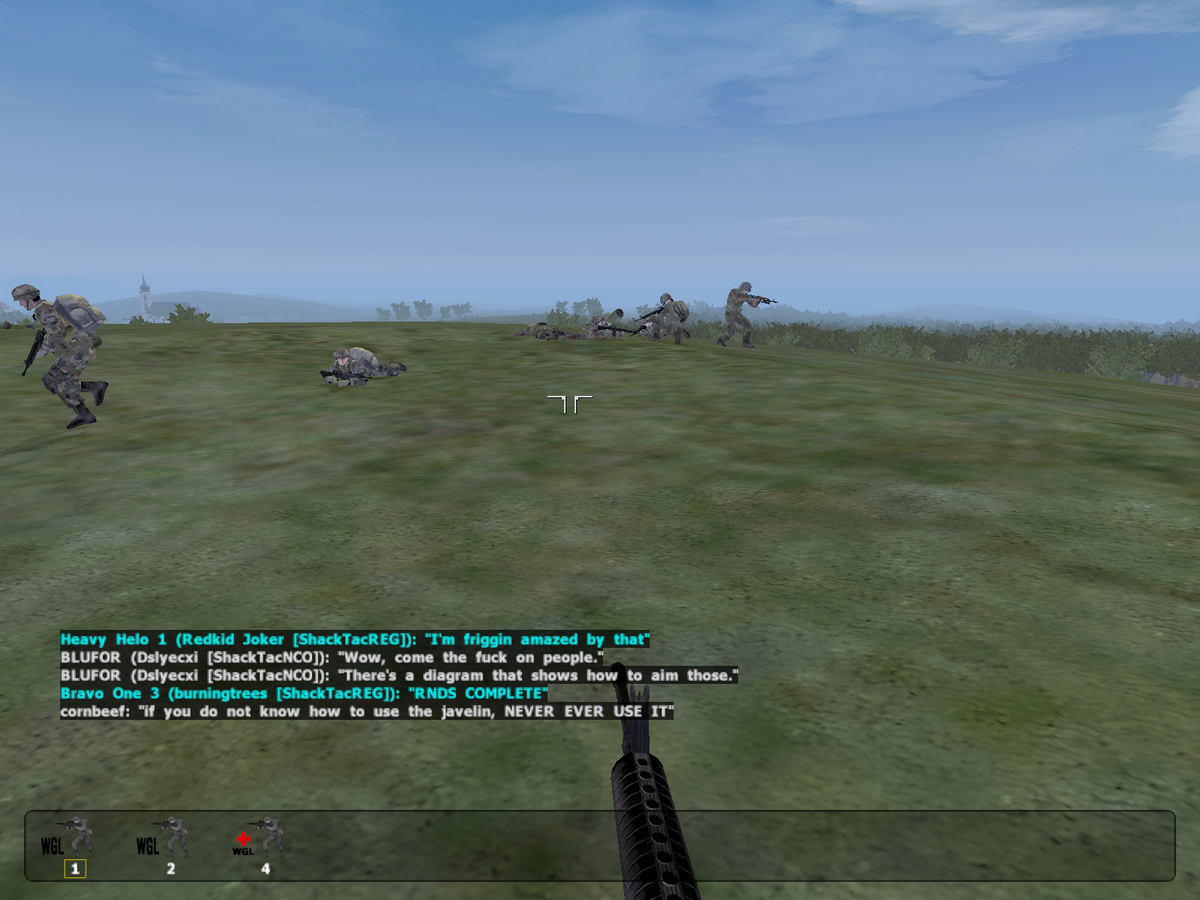
At this moment, something went terribly, horribly wrong. There was the distinctive noise of a Javelin being fired, followed almost instantly by a crashing explosion as the warhead detonated. Despite his best intentions, the Javelin gunner had failed to account for the terrain, and friendly infantry had failed to get clear of him prior to the shot. The missile left the tube and impacted on the hill, exploding with force and killing Cornbeef, the Command Element’s guide, in the process.
Aftermath of the failed Javelin shot
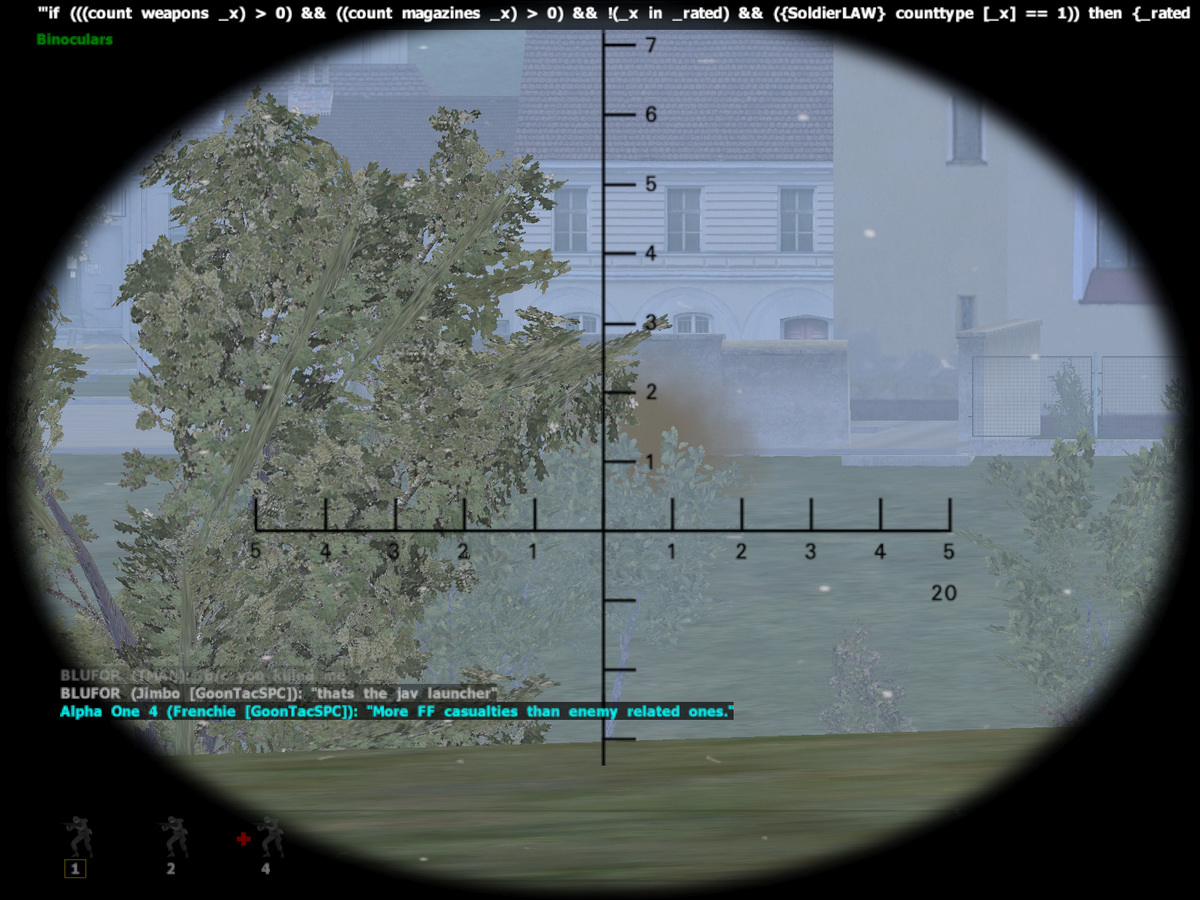
In an odd twist of fate, the Javelin gunner himself survived. A few others were wounded by the explosion, and were quickly patched up by our medics. After a bit of swearing, the squad leaders were told to take care of the T-72 by any means necessary.
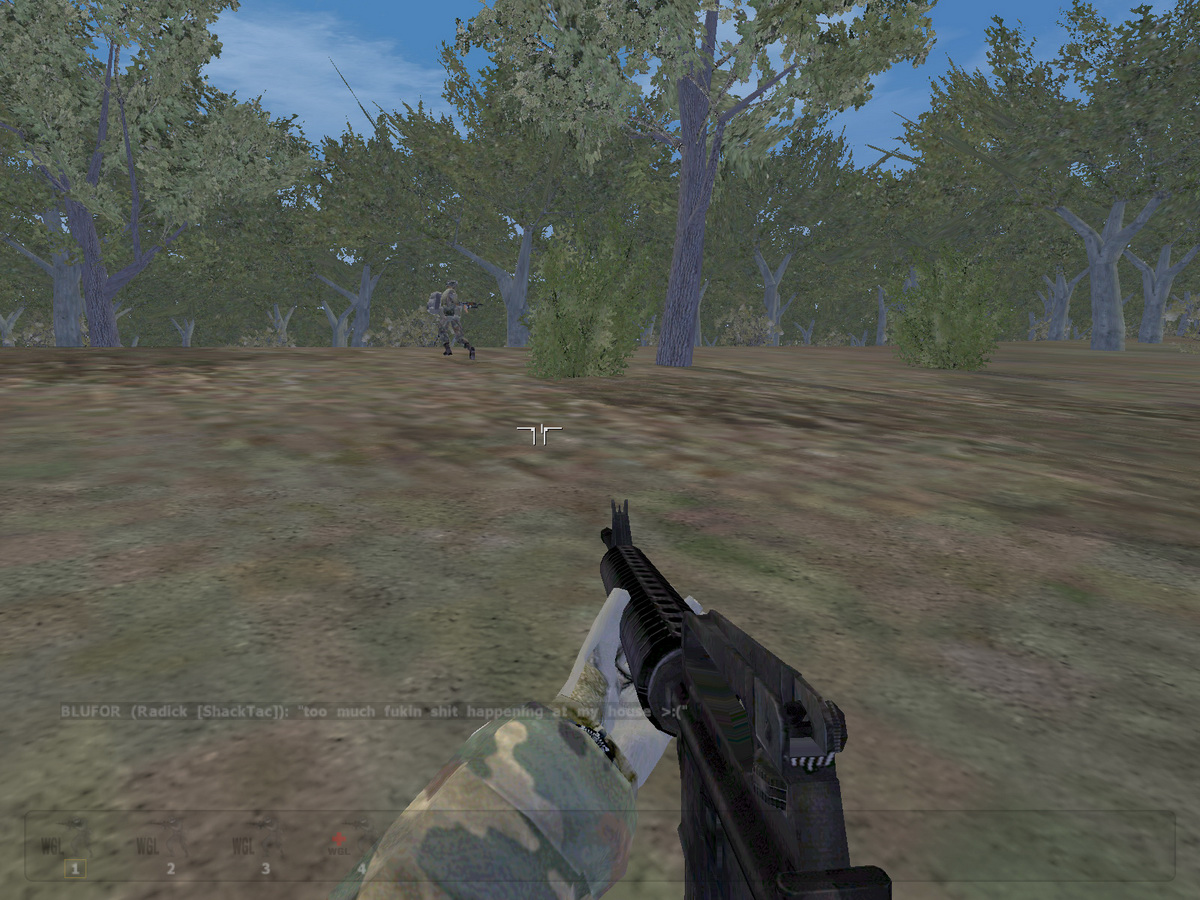
Bravo 2’s Javelin gunner, Jimbo, ended up being the one to do the deed. I saw them run up from the trail position Bravo had taken, head past me, and a minute or two later the T-72 exploded into flames. I told them they’d done a good job – quick, fast, and effective, without any micromanagement necessary. Awoihjaweohr, their squad leader, had relayed what had needed to be done and they’d executed it perfectly. I noticed on the map that Bravo 3 had moved south to protect our flank – shortly after, their squad leader reported that they had engaged enemy infantry and had spotted further enemy forces in the forest to their east.
Bravo infantry move up, including the Javelin gunner – Infantry and a Mk-19 HMMWV wait for things to clear up

B3 to the south – T-72 goes up from Jimbo’s Javelin shot
Taking Ciney
With our flanks secured, and the T-72 dead, it was time to show the town some 40mm loving. The Mk-19 HMMWVs drove up, along with the .50cal HMMWVs. Both Alpha and Bravo squads were on the hill, with Bravo 3 still further south providing security. Everyone on the hill opened up on Ciney, raining down machinegun, rifle, and 40mm grenade machinegun fire on the town.

After pounding the town for a bit, Alpha squad was sent north. They would head north for a few hundred meters before cutting east and hitting Ciney’s northern half. Bravo would provide overwatch during this movement. I was careful to give Bravo guidance as to how to employ the Mk-19 during this maneuver, as I didn’t want them to have any short rounds hit Alpha once it was closer to the town.
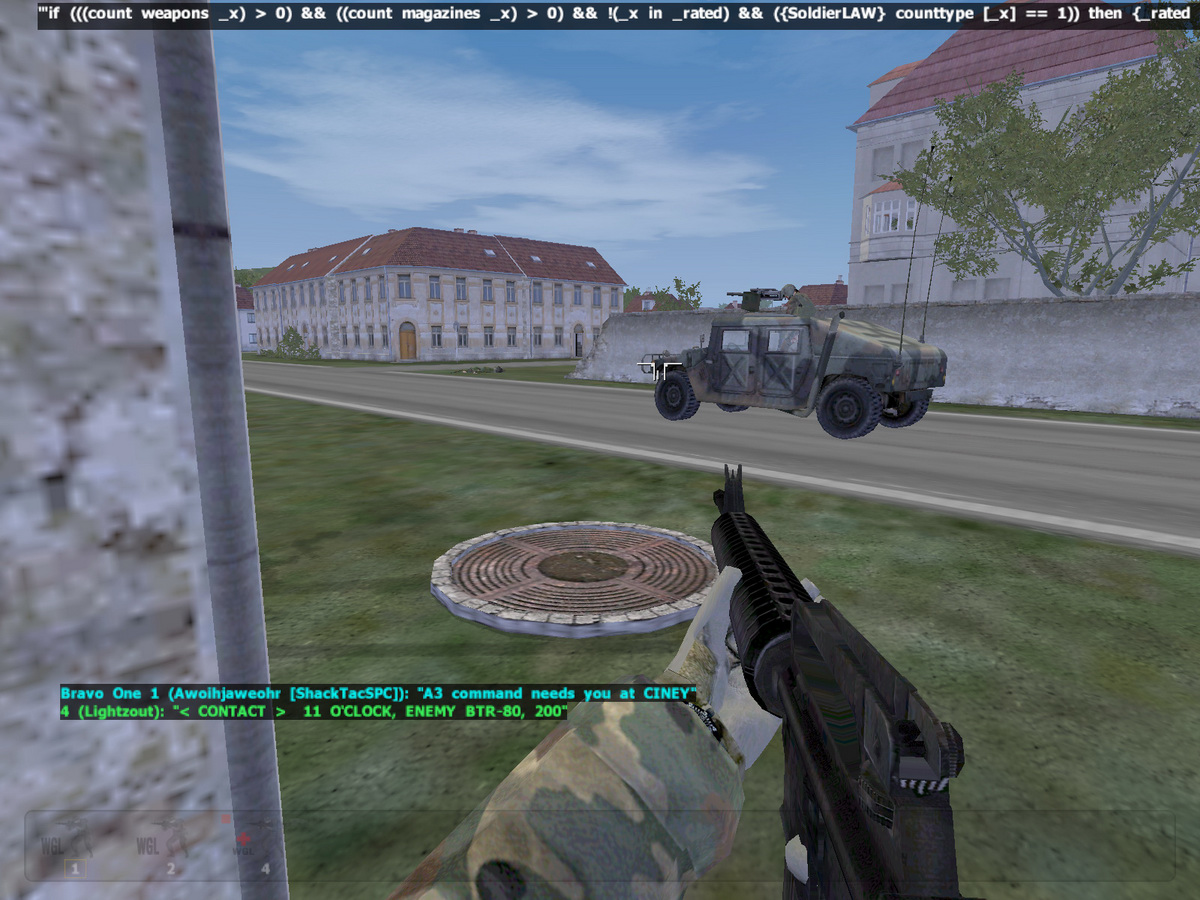
Alpha 1 and Alpha 2 closed on the town. Bravo 3 was now south-east of Hill 42, clearing the forest of enemies. In a few minutes, Alpha had established a foothold on the city. I loaded up my team in a Mk-19 HMMWV and drove down the road to meet Alpha.

Once we reached them, we became aware of a BTR APC that was in the area. MechaStalin jumped on the Mk-19 and prepared to meet it – with a bit of luck, the 40mm grenades would be able to wipe the BTR out before it could do any damage.
Bravo squad and Alpha 3, driving the second Mk-19 HMMWV, abandoned Hill 42 and pushed further east. They took up a new position to the south/south-west of Ciney while Bravo 3 continued to patrol further east.
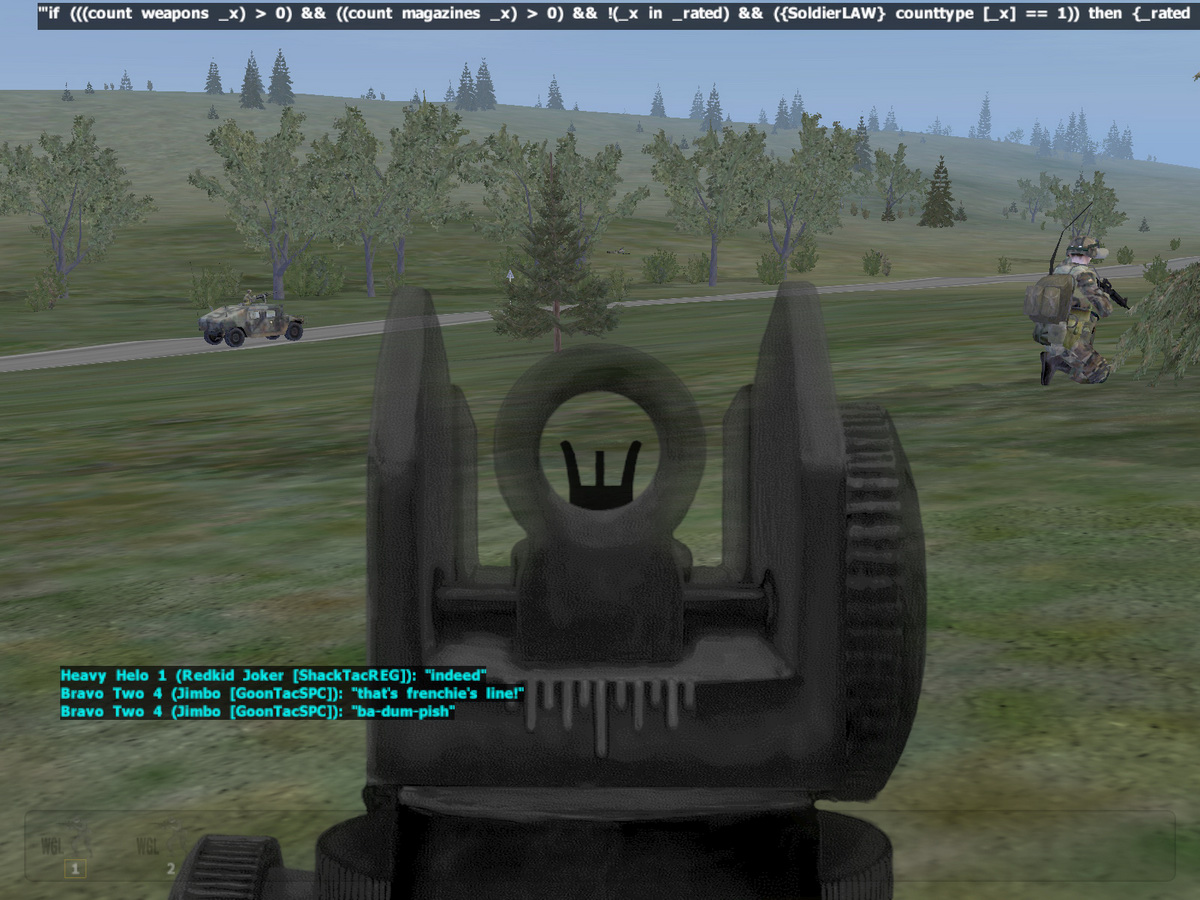
The BTR
Back in Ciney, the BTR crested a hill about four hundred meters away. MechaStalin laid down on the butterfly trigger of the Mk-19. Alas, it was not meant to be – the BTR cut him down with a burst of machinegun fire. The Command medic was also killed in this exchange. Everyone else had taken hard cover during this and escaped without injury.

MechaStalin engaging the BTR, getting killed, and the aftermath
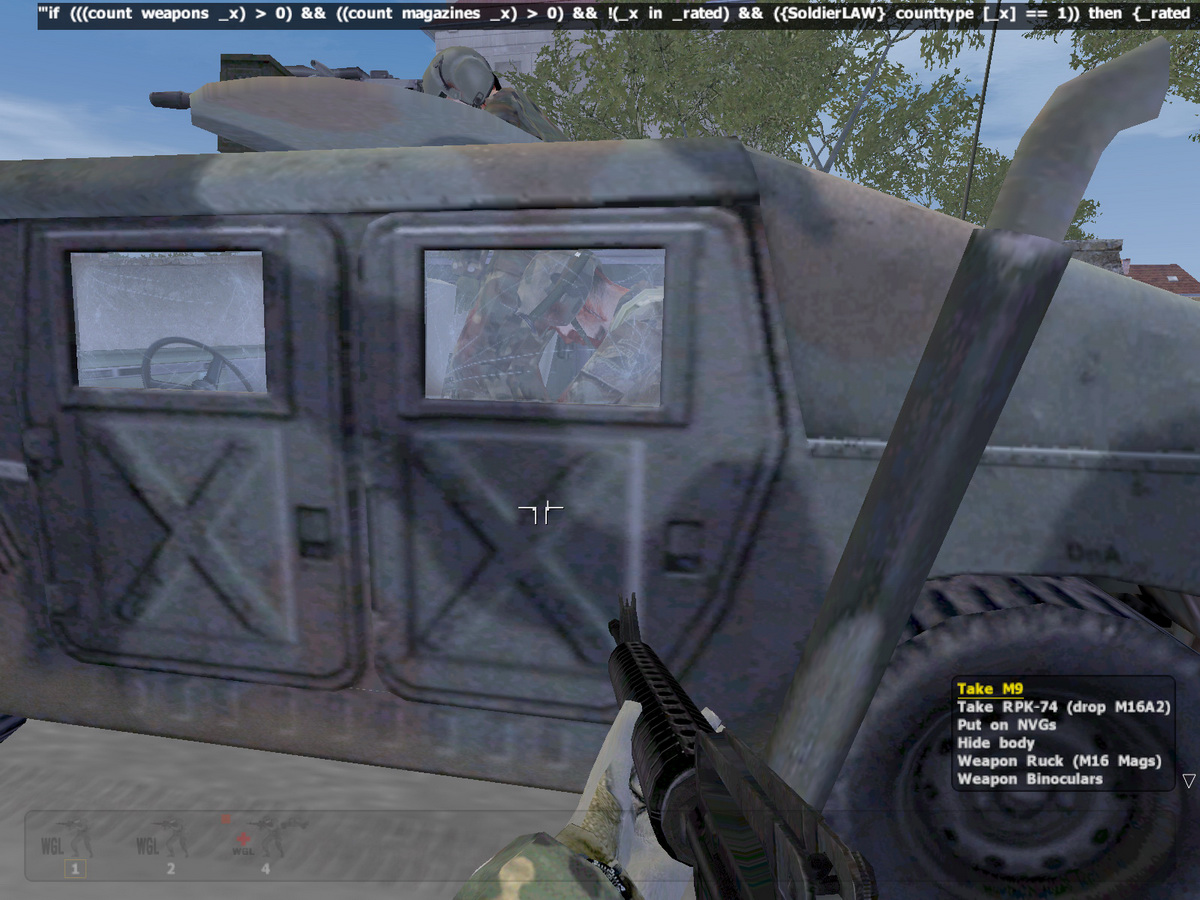
Without any AT immediately available, I asked for the Alpha 3 Mk-19 HMMWV to head north to Ciney to help us out. They made it up with plenty of time to spare – the BTR had temporarily headed away. In fact, it was gone for long enough that Alpha’s squad leader was able to get an RPG from a fallen Russian and head out to ambush it on the road. The idea was that an RPG would be a sure-fire kill and would prevent us from losing another Mk-19 HMMWV if things went south.
Unfortunately, Alpha’s squad leader took it upon himself to do this. He had another squad member come with him to provide support, when the more ideal solution would have been for him to task it down to a subordinate so that he wouldn’t get killed himself.
As it turns out, things went south for that impromptu AT team. The BTR came back before they were ready for it, which caused Alpha’s SL to take a close-range shot on the BTR. The round was effective, but the BTR’s momentum kept it rolling towards the two Alpha team members. It rolled to a stop mere meters away from the two soldiers and then exploded catastrophically as the fuel and ammunition cooked off.
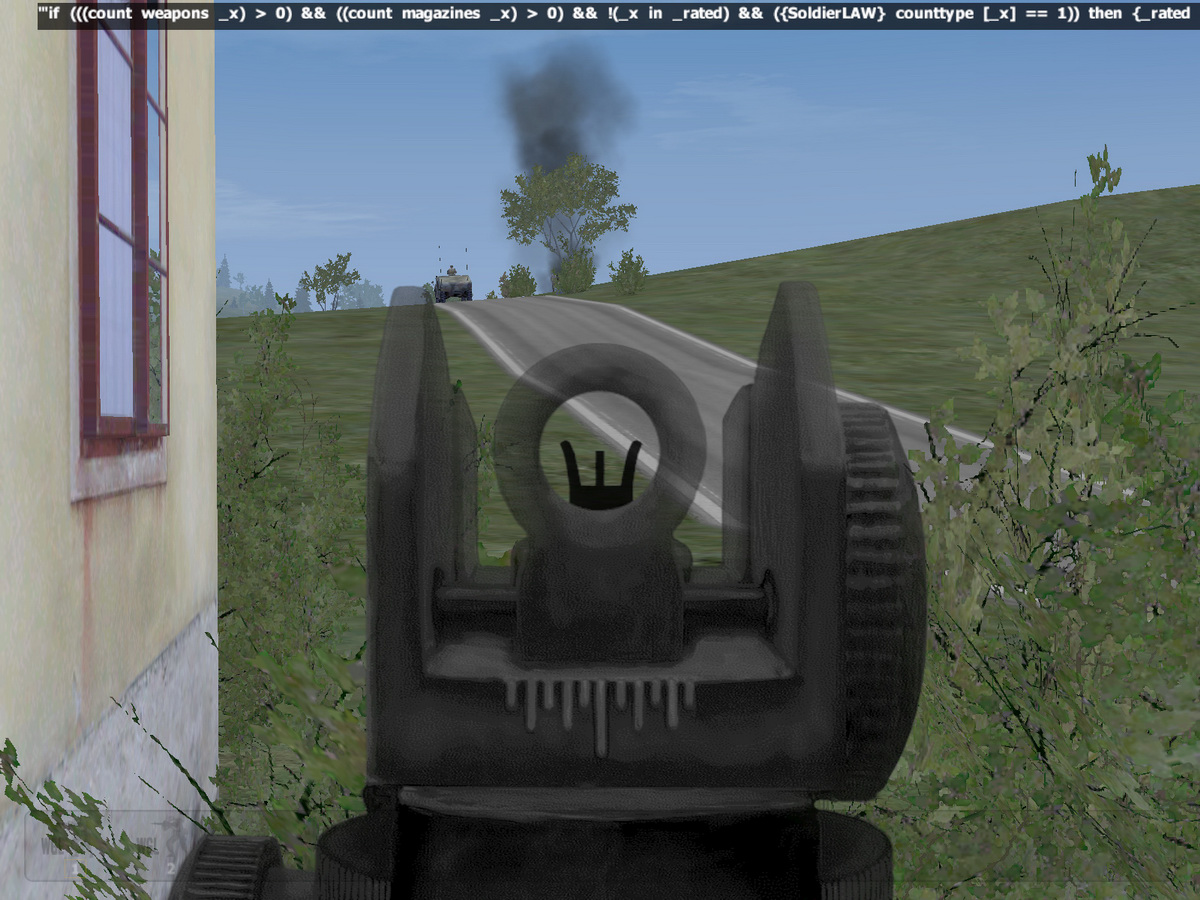
Smoke rises from the destroyed BTR on the other side of the hill
Alpha’s squad leader was dead. So was an additional Alpha squad member. The BTR was history as well, but it was a bitter price to pay. Lesson learned? Don’t ever do something dangerous as a squad leader that you can’t realistically delegate to a subordinate. Squad leaders should be concerned with the bigger picture, and their survival is important to the Platoon Commander and the other squad leaders.
Sadi, fireteam leader of Alpha 2, took command of Alpha at this point. Bravo was still further south and was engaging enemy patrols between Ciney and Louvain.
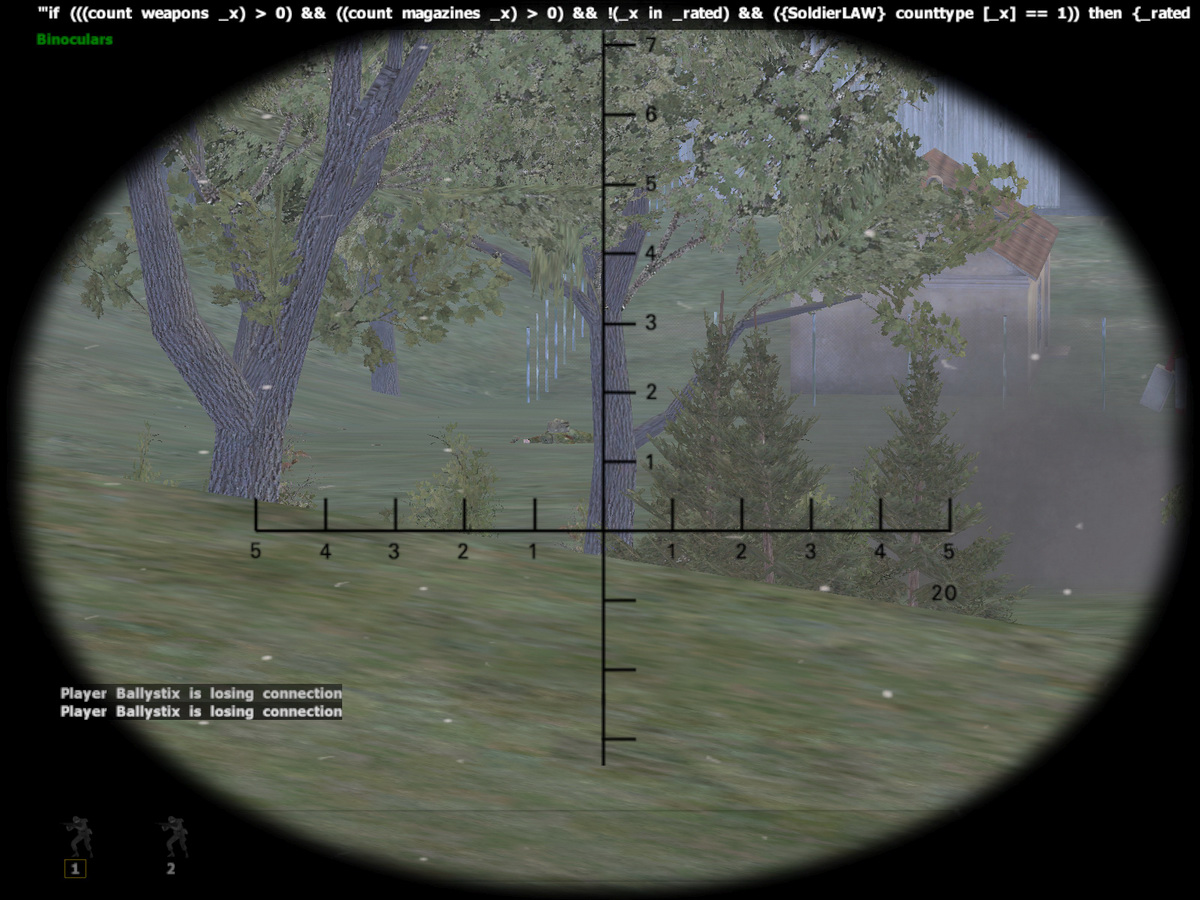
As I moved towards the burnt-out BTR I checked the map and noticed that our sniper was pretty close by. He had been effectively killing the enemy over the course of the mission along with providing us quality intel. When I asked him what his status was, his terse reply was that he was engaged. I pulled out my binoculars and looked over in his direction – sure enough, I could see him fighting atop a nearby hill. Things looked tense for a few moments, with the sniper resorting to his M9 pistol to fend off the enemy, but he eventually triumphed.

The knocked-out BTR, a dead teammate (Alpha SL?), and Joel engaging enemies on the hill
Prepping Saint Hubert
The sniper continued east towards our final objective. Alpha followed the road towards the town, careful to stay out of direct view of the town in case there were tanks lurking. Bravo was busy calling in an artillery strike on an enemy-occupied hill they had encountered resistance at to the south – Hill 83. They obliterated the hill and everything on it, after which I called them up north to get them closer to us as we prepared to assault our final objective.
First things first – Joel reported an enemy T-80 in the town, as well as a few infantry patrols. This was a perfect situation for artillery support, and I passed word to Awoihjaweohr, Bravo squad’s leader, that we needed a 3-round volley oriented on the enemy tank. The fire mission was called in as a low-angle strike, followed shortly by the rounds whooshing close overhead before crashing into the town.
The first volley took out an enemy infantry patrol but left the tank unharmed. Joel reported that the rounds had hit all around the tank, so I told Bravo to change the sheath (aka ‘dispersion’) to converged and repeat the fire mission. This resulted in the tank being hit hard by a full volley of 105mm rounds, which disabled and then destroyed it. With that, the town was stripped of any heavy defenses.
The T-80 gets knocked out by artillery
Taking Saint Hubert
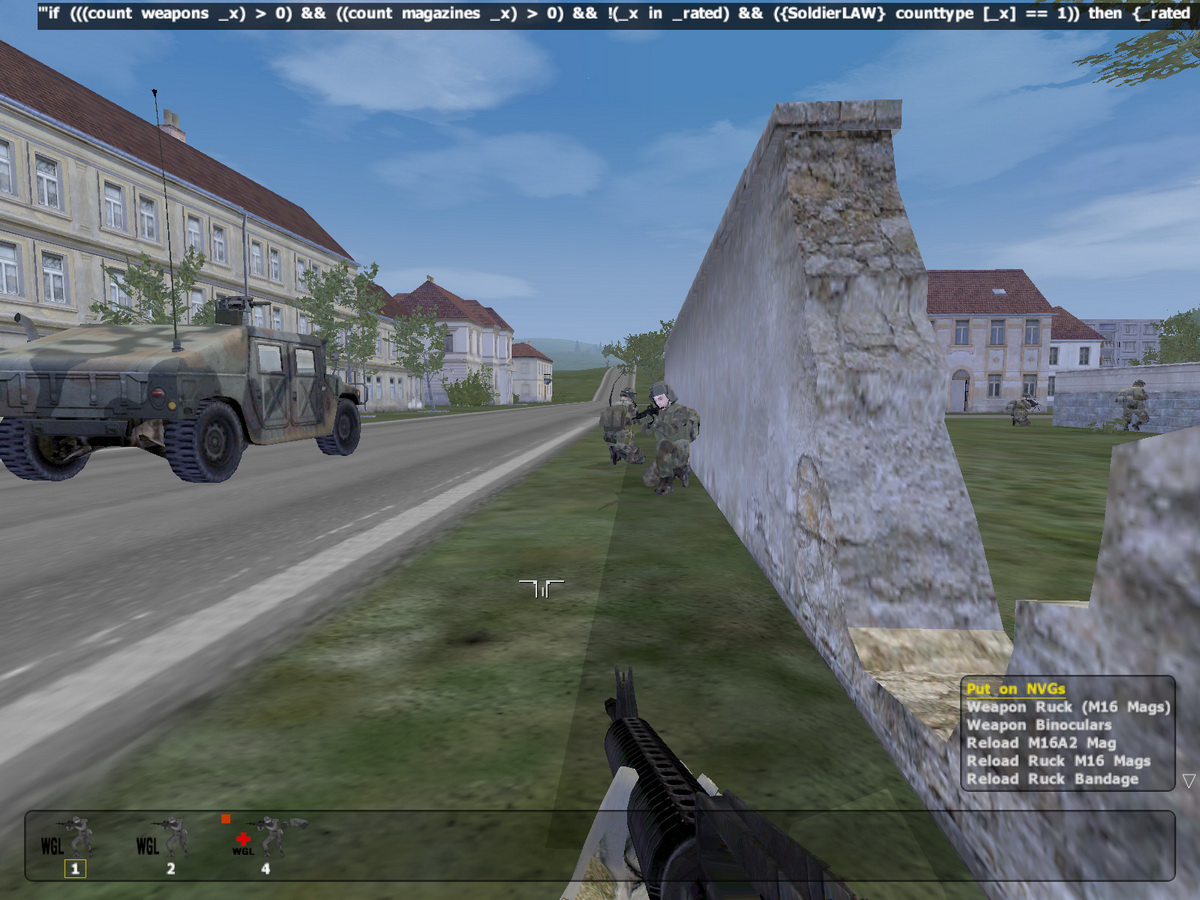
Alpha and Bravo squads moved close to the town and began to lay into it with everything they had. Mk-19’s pummeled the buildings while small-arms fire chewed up any Russian flesh that dared make itself visible.
Hammering the town
Bravo 2 and 3 moved into position to attack Saint Hubert from the south while Alpha squad moved north and prepared to hit it from the west. All remaining HMMWVs poured fire on the town to cover the movement of our infantry.
As the infantry reached the outskirts of town, the heavy fire ceased in the interest of not hitting friendlies.
The infantry swept in and with a few quick exchanges of fire were able to secure the town. Mission accomplished, and with surprisingly light casualties.
The last few minutes of gameplay were recorded by me – you can download it here.
Much of the mission was recorded by LandrosRadick – you can download the compilation here. Note that he’s listening to Command chat and Alpha chat at the same time.
Epilogue
Thus ended one hour and forty-one minutes of intense, coordinated combat. We made it out with at least 70% strength, and maintained coherency throughout the mission during every engagement. Leadership was strong at all levels, and every player pulled their weight in-mission.
There were a few noteworthy lessons learned in this mission. Some of them, like target identification and proper weapon employment, are things that need to be emphasized frequently to everyone to ensure that the knowledge is present with all players. It only takes one person not knowing for there to be a problem. Fortunately, both of the friendly-fire mishaps were single-casualty events. Losing two people was less than ideal, but it could have been much worse. In the future we should be able to minimize if not prevent such things from occuring, especially insofar as the Javelin and similar anti-tank weapon systems are concerned.
Other things, like the new ShackTac/GoonTac rank structure and the implications it had on our gameplay, had to be experimented with to be fully understood. The mission was a prime example of how our new rank structure and communication procedures can add to the overall experience – it’s a shame that there is so little audio from Teamspeak to show off that communication system, however.
All in all, it was a great mission. The best part is that it was only one of many missions that we played that night – for more screens & video from them, check out the Shack Tactical page. This mission as on December 2nd – you’ll be able to find two clips from that night on the page, one of them being from a round of Murder Simulator, the other from a round of Loose Lips Sink Ships. Not featured were runthroughs of Midnight Attack, a mortar-hunting training mission, Platoon Attack, and Blue Assault. All of the missions aside from Platoon Attack were created by ShackTac and GoonTac members. Platoon Attack was created by Jinef of the Zeus OFP server.
To close this up… if you enjoyed this writeup, let me know. This is the first full-length one I’ve done in a few months, and the more interest there is for them, the more likely I am to put them out at a more regular rate.
Until next time,
-dslyecxi


